What the work actually looks like.
This page is a phase-by-phase record of real Onyx work across Los Angeles. Not isolated finish shots, and not just the polished end result — the actual sequence of demolition, structure, waterproofing, rough systems, finish build-out, and final completion.
A page built around the work, not just the reveal
These images are here to show the depth of the work behind the finished result. Whether the property is in Santa Monica, Brentwood, Hancock Park, Mar Vista, or Los Feliz, the same pattern holds: strong finished rooms come from disciplined execution long before the finish materials arrive.
The finished look is only one part of the story
The point of this page is not just to explain the sequence. It is to let the work speak through the sequence. Demolition, excavation, rebar, framing, waterproofing, rough systems, drywall, tile prep, and final finishes all leave a record of capability when they are documented clearly.
Move through the work phase by phase
You can move straight through the sequence or jump to the phase you care about most. The point is to show how much real work sits behind the finished image at the end.

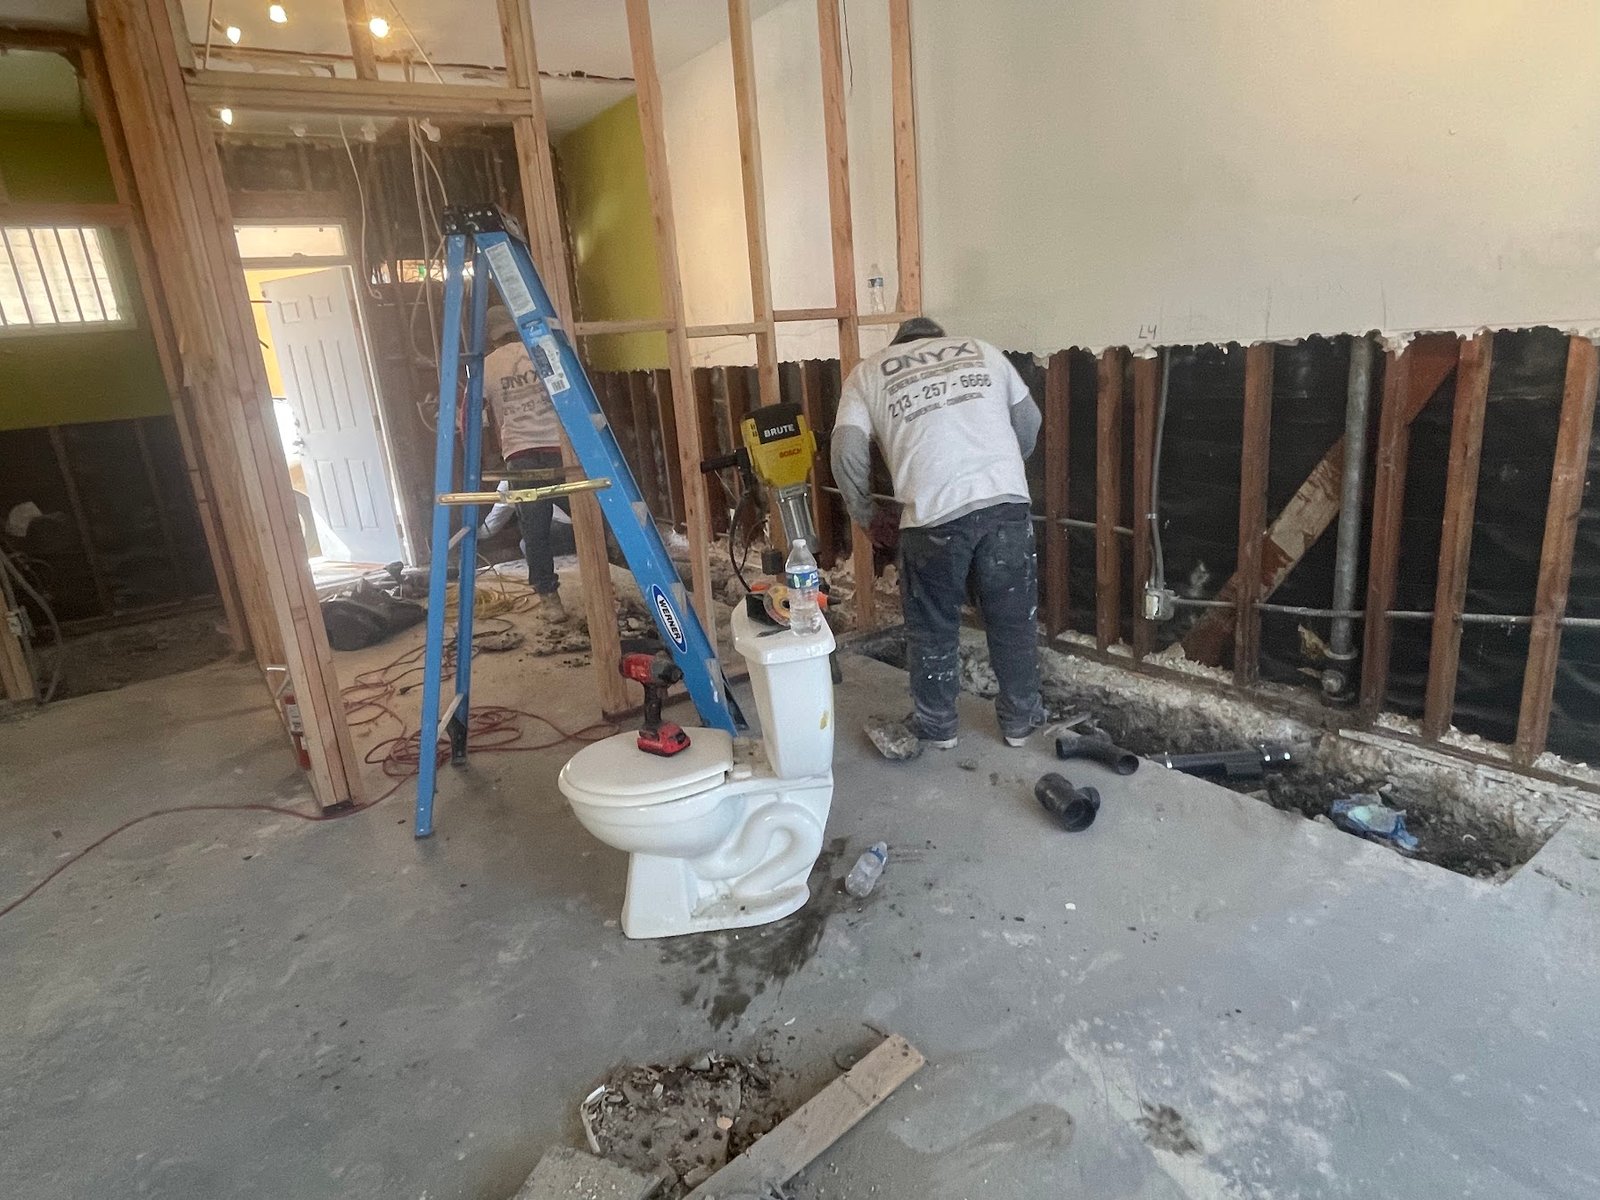
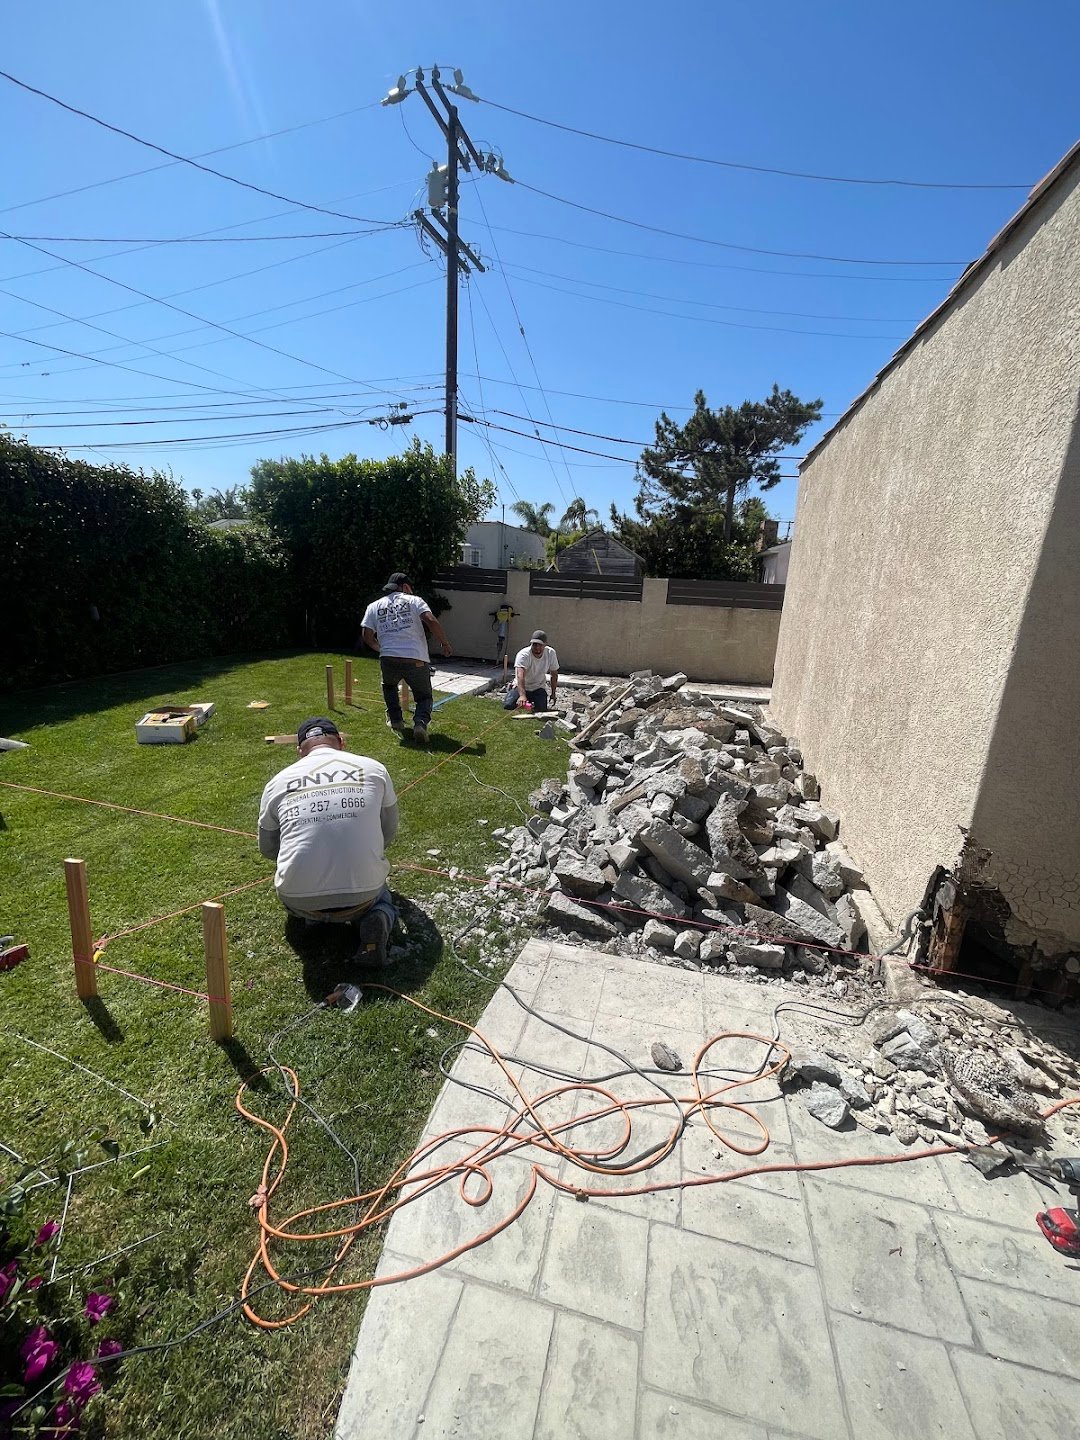
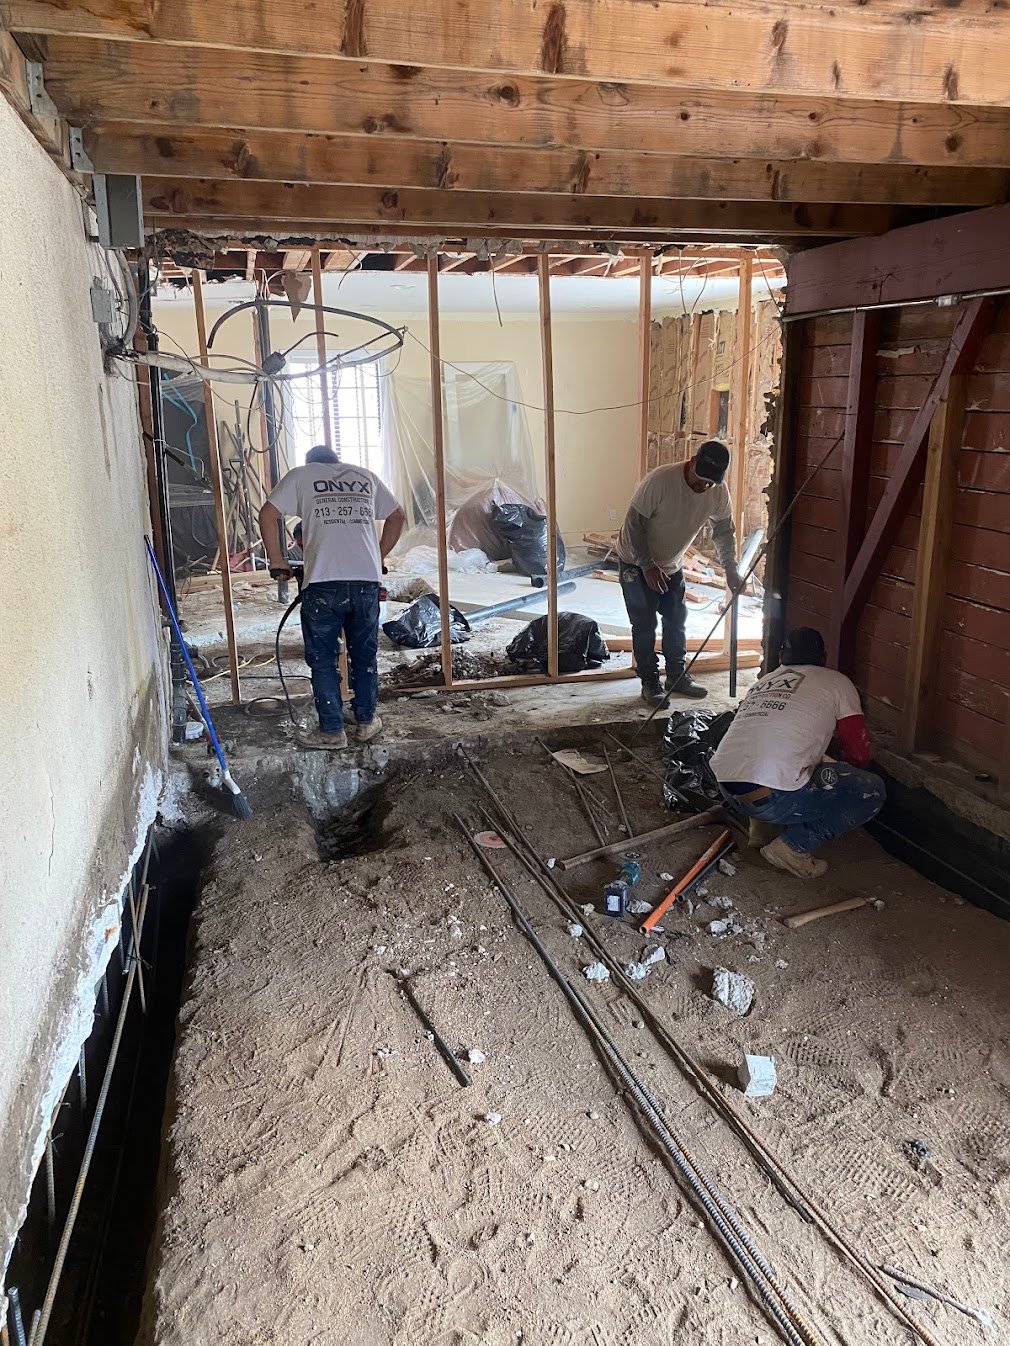
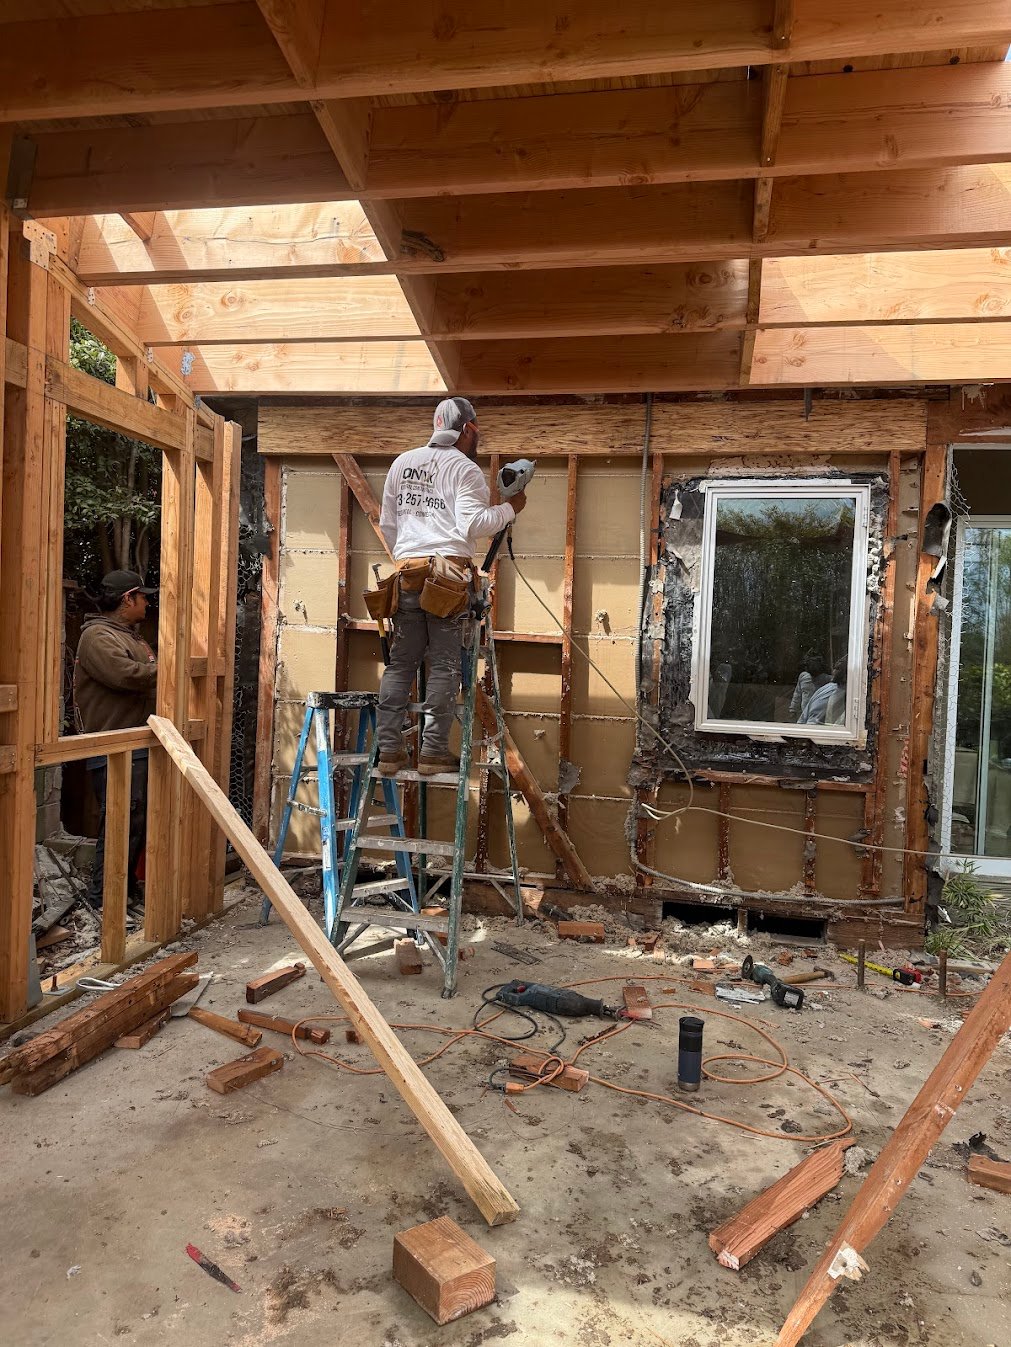
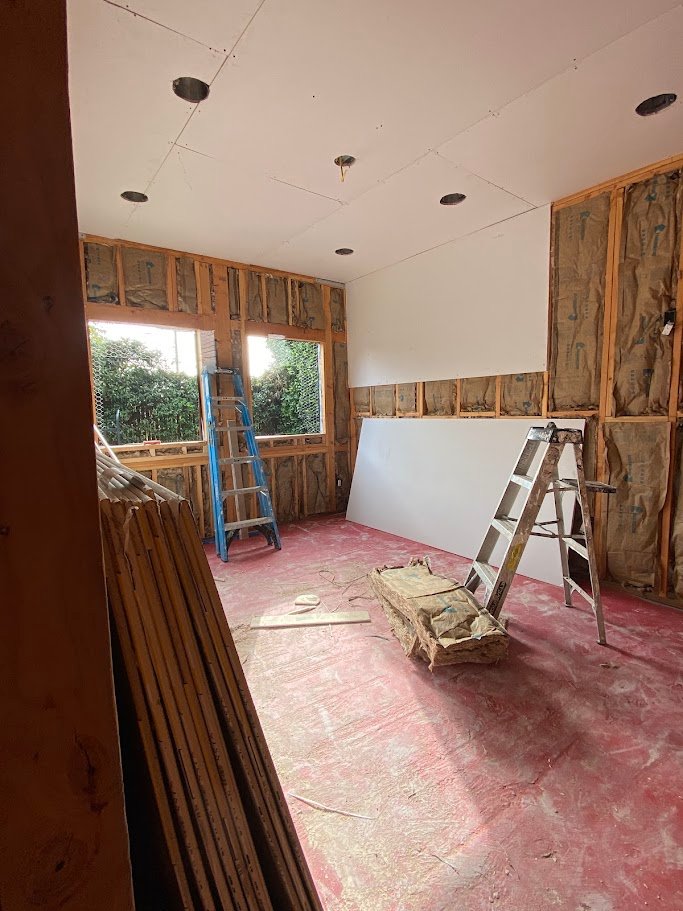
Clearing, protecting, and defining the jobsite
This is where the project stops being theoretical and becomes physical.
Demolition is not just removal. It is the stage where protection, access, haul-away, safety, and sequencing all begin to show whether the job is being run with discipline. Clean staging, controlled removals, and organized debris management keep the site readable instead of chaotic.
On additions and remodels across Los Angeles, this is also where hidden conditions surface. Existing framing surprises, old plumbing paths, utility conflicts, and previously concealed code issues usually appear here, which is why the first phase affects the calendar more than most owners expect.
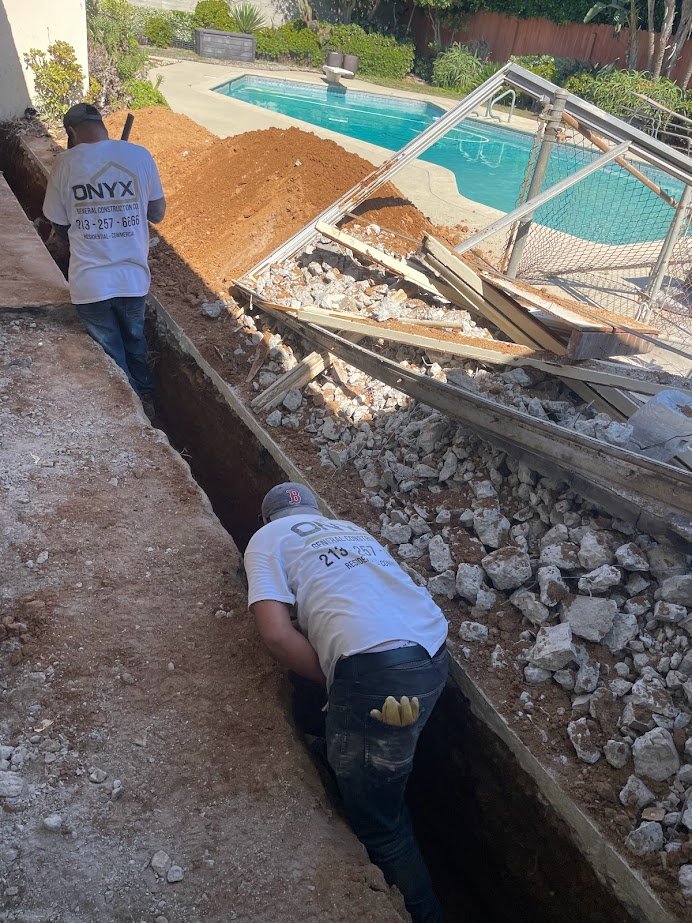
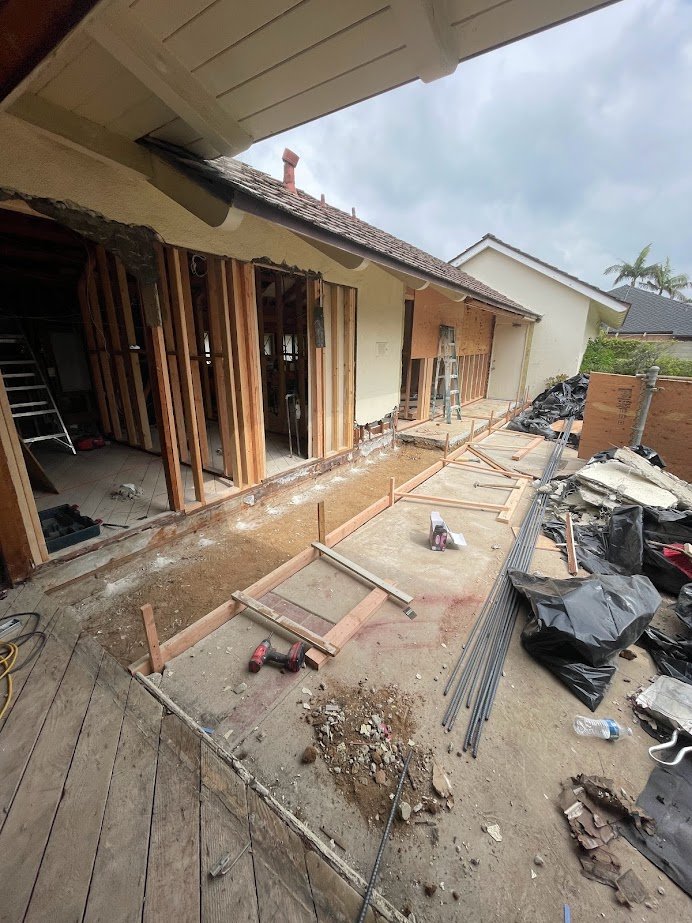
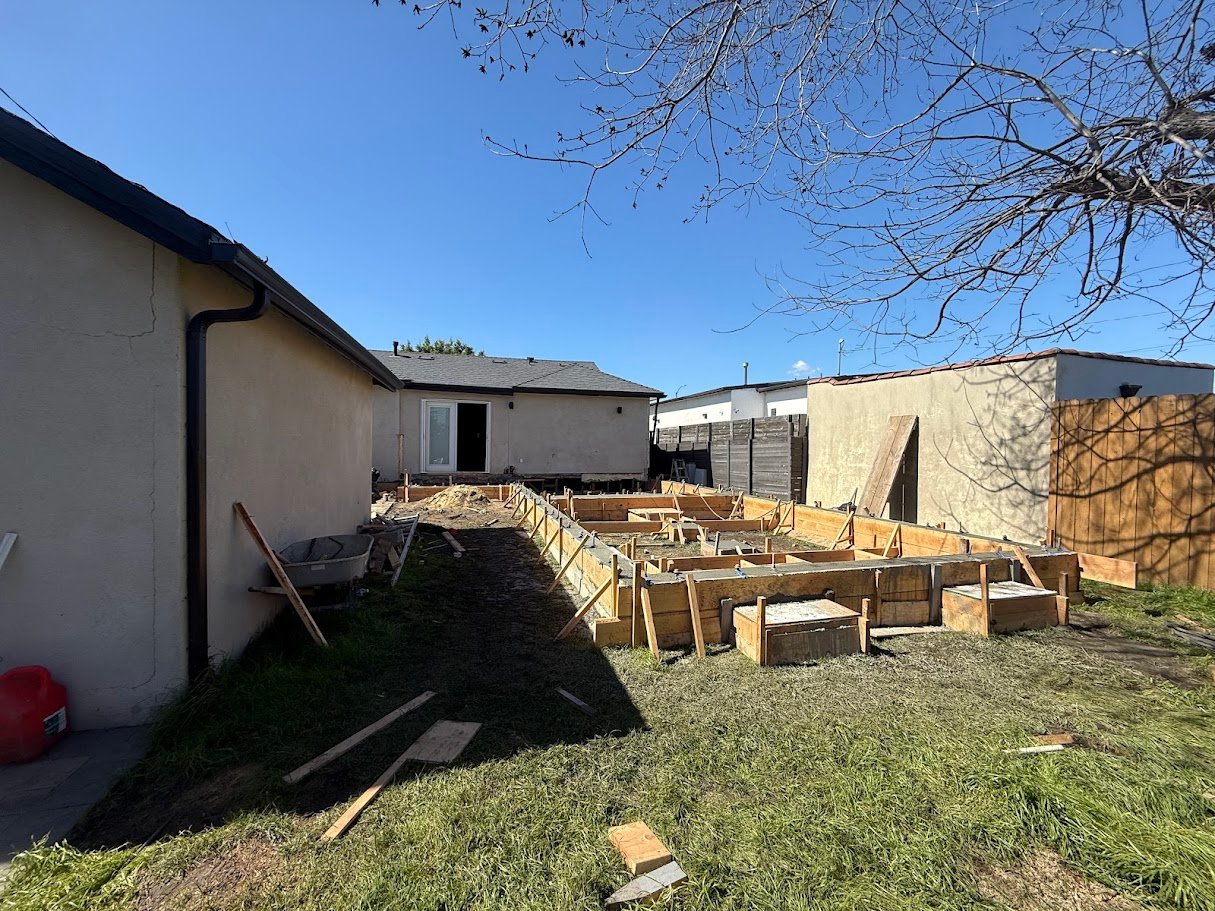
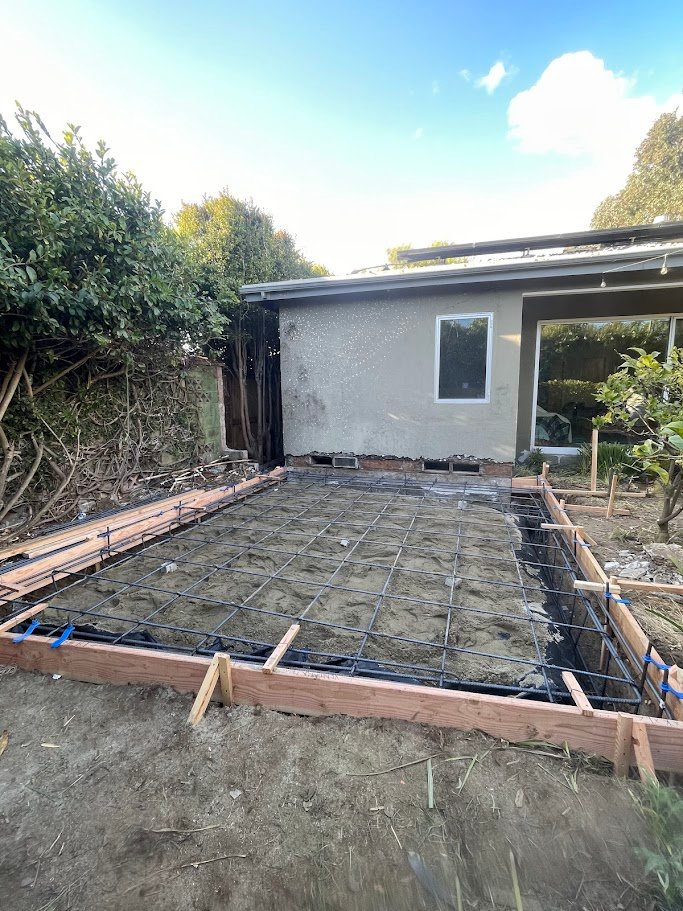
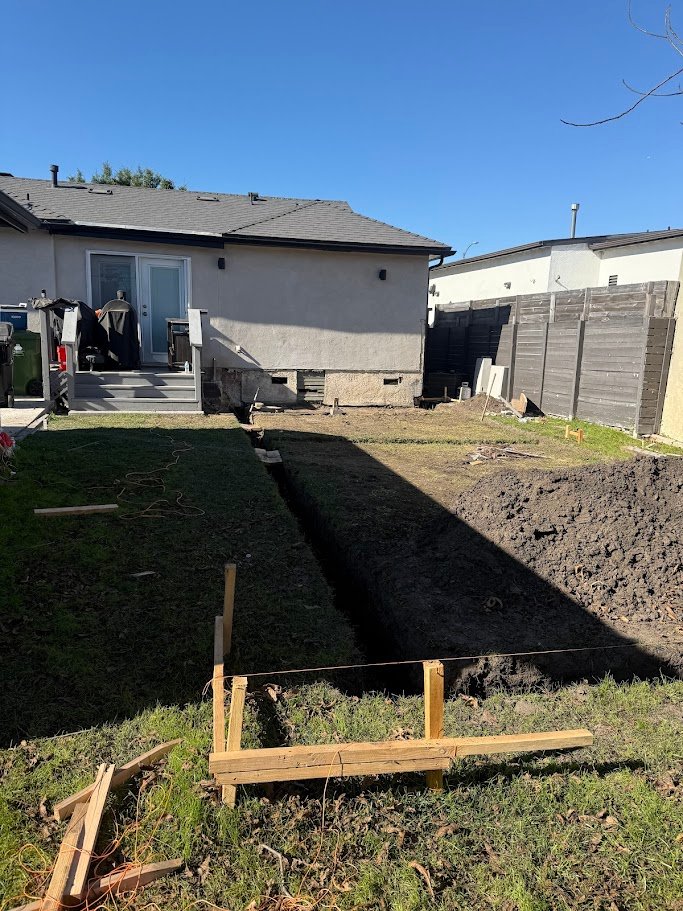
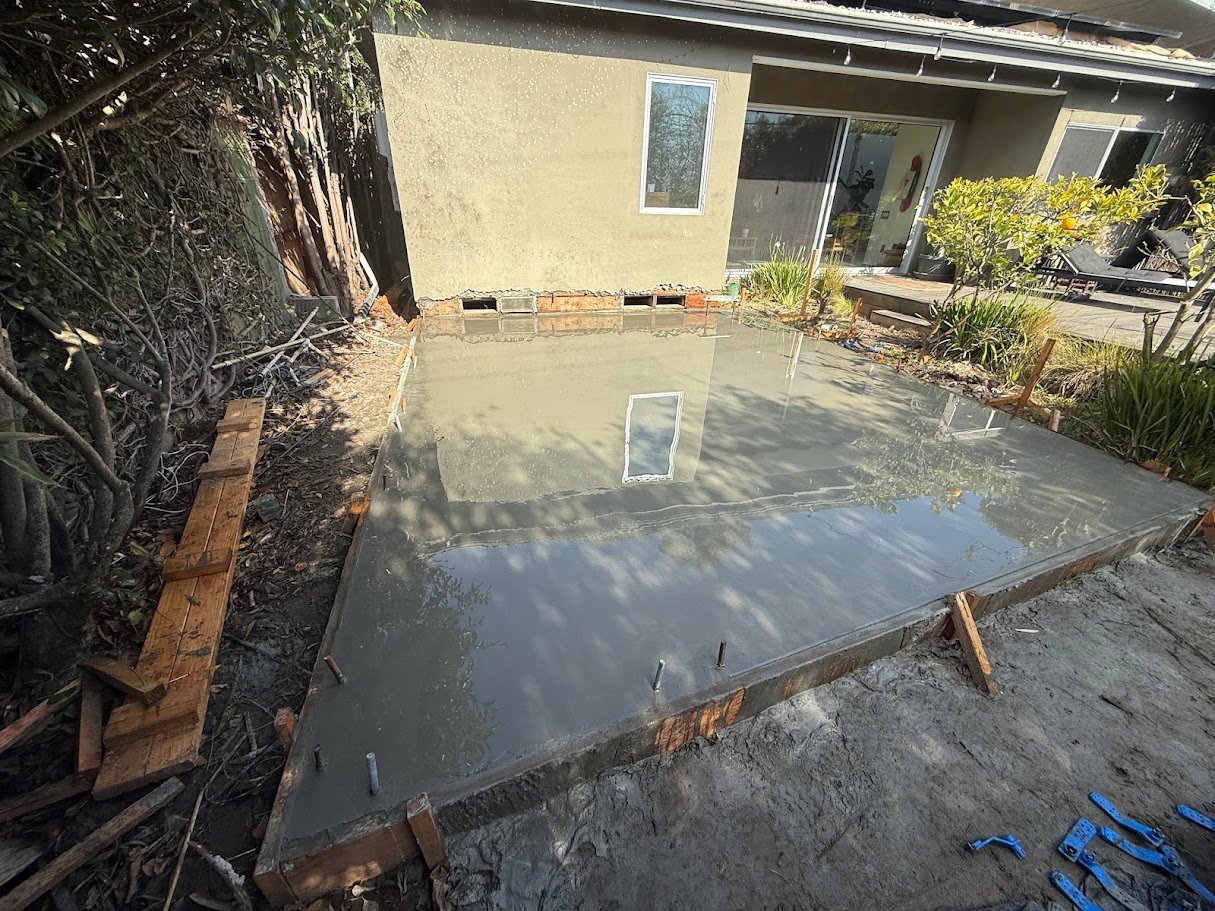
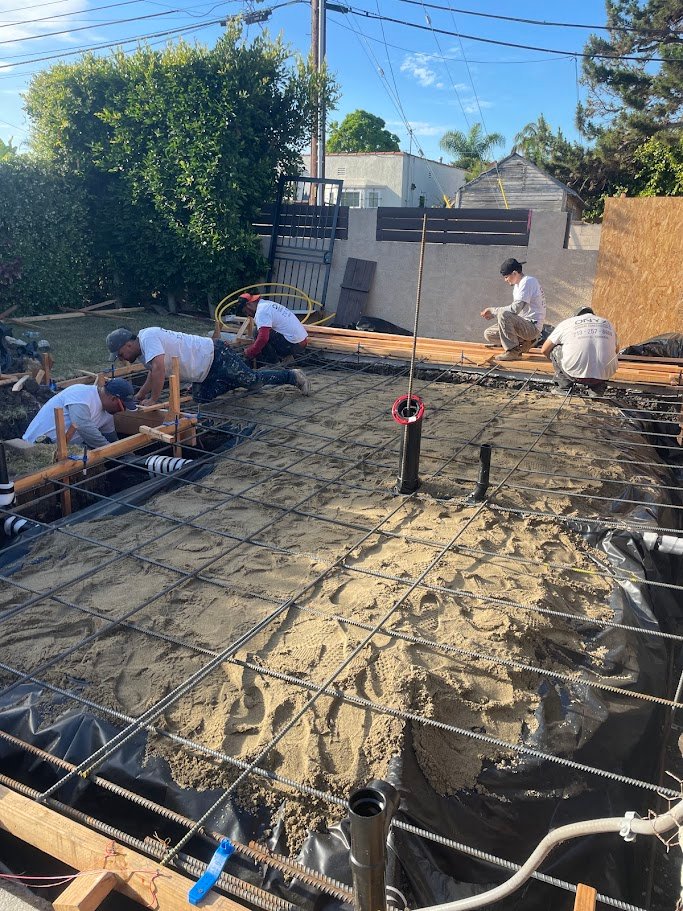
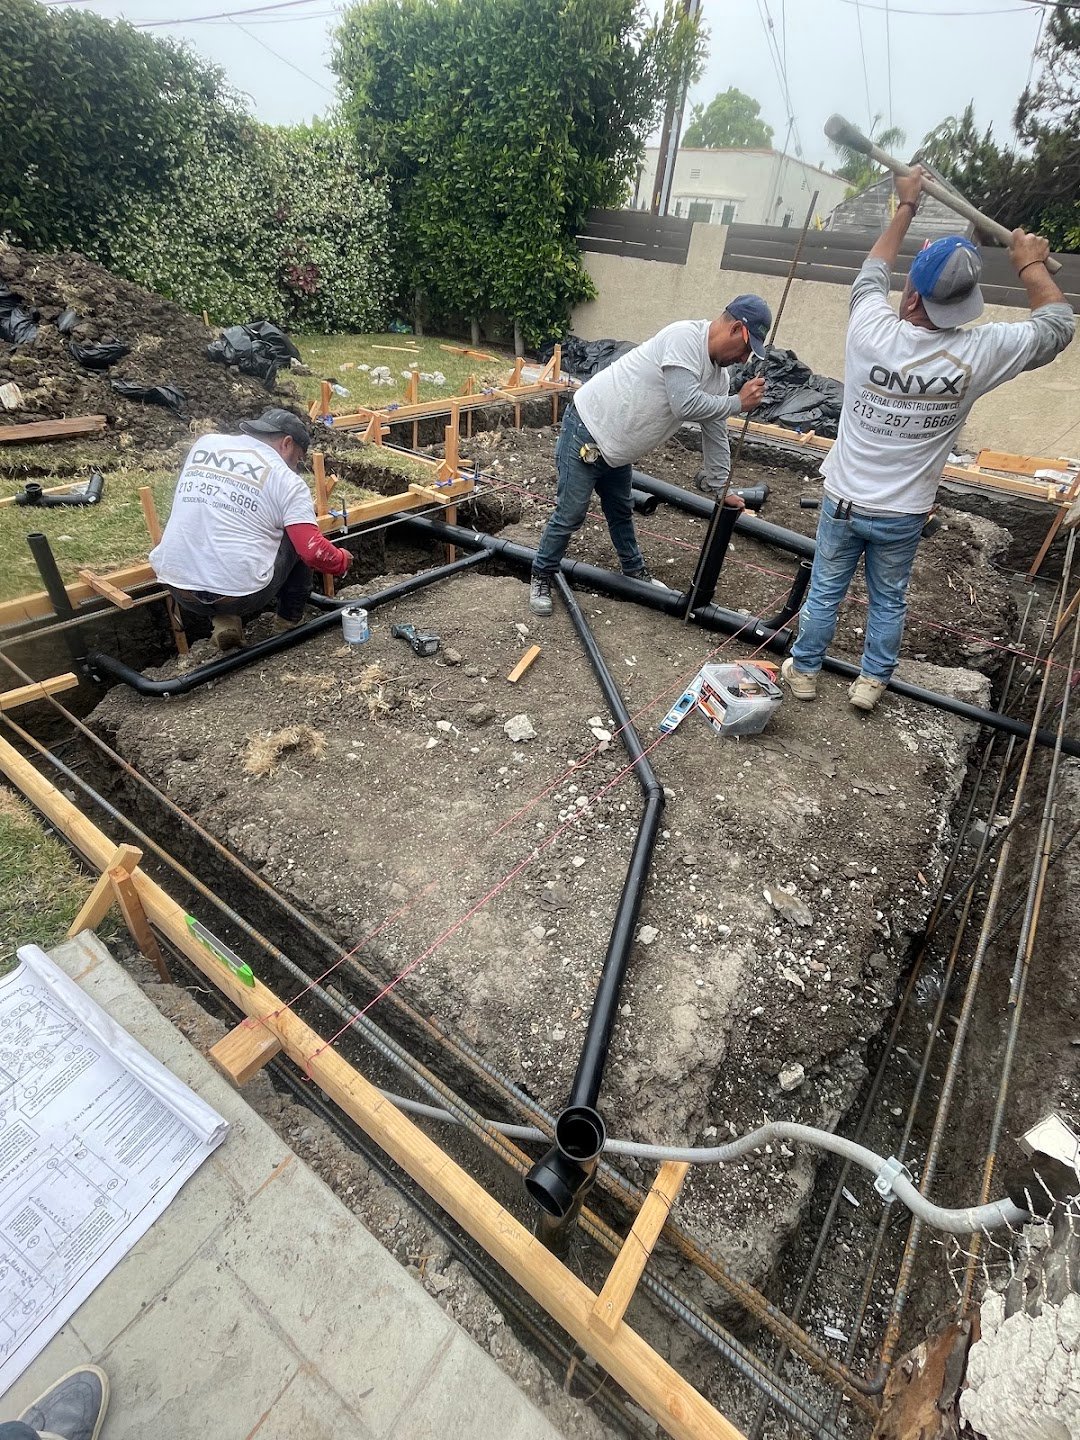
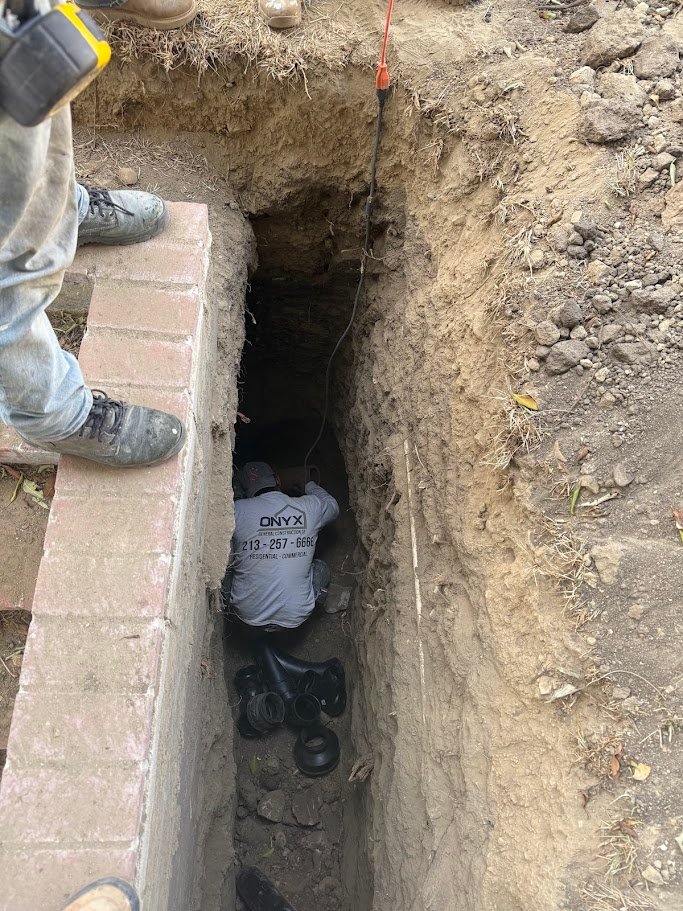
Where the engineering meets the ground
This phase locks in structural decisions that will outlast every finish.
Foundation work covers trenching, footings, rebar, hold-downs, anchor bolts, vapor barriers, and slab or grade-beam pours. Once these pieces are set, the structural logic of the project is largely fixed, which is why this stage deserves close documentation and disciplined inspection coordination.
In Los Angeles, soil conditions and seismic requirements influence almost everything here. On ADUs, room additions, and larger remodels, that may mean raised systems, thickened slabs, grade beams, retaining conditions, or drilled elements that have to be resolved before framing can begin cleanly.


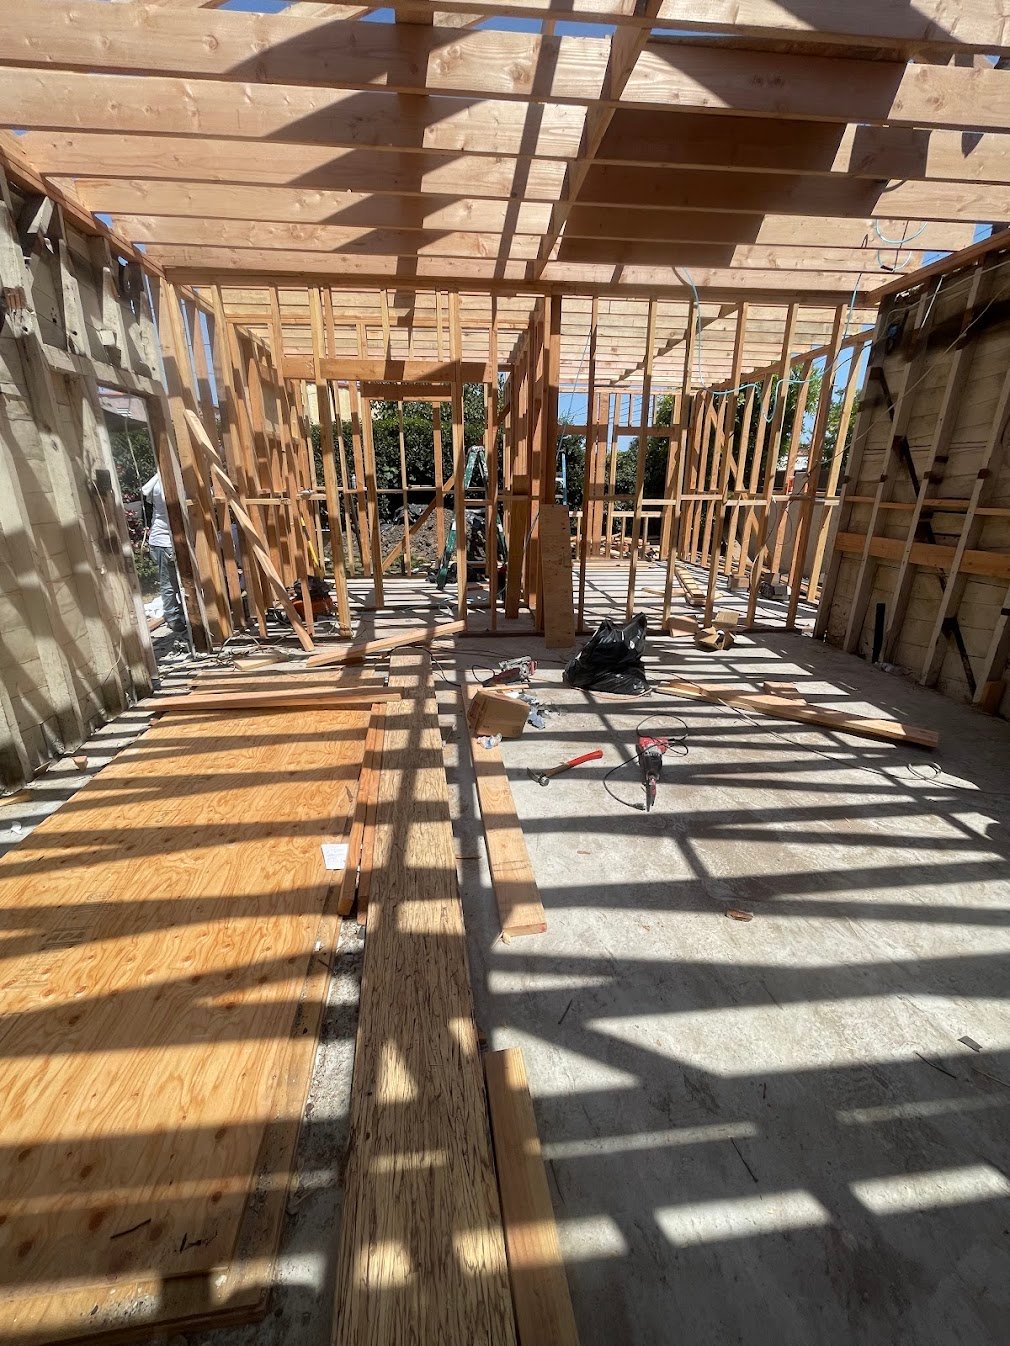
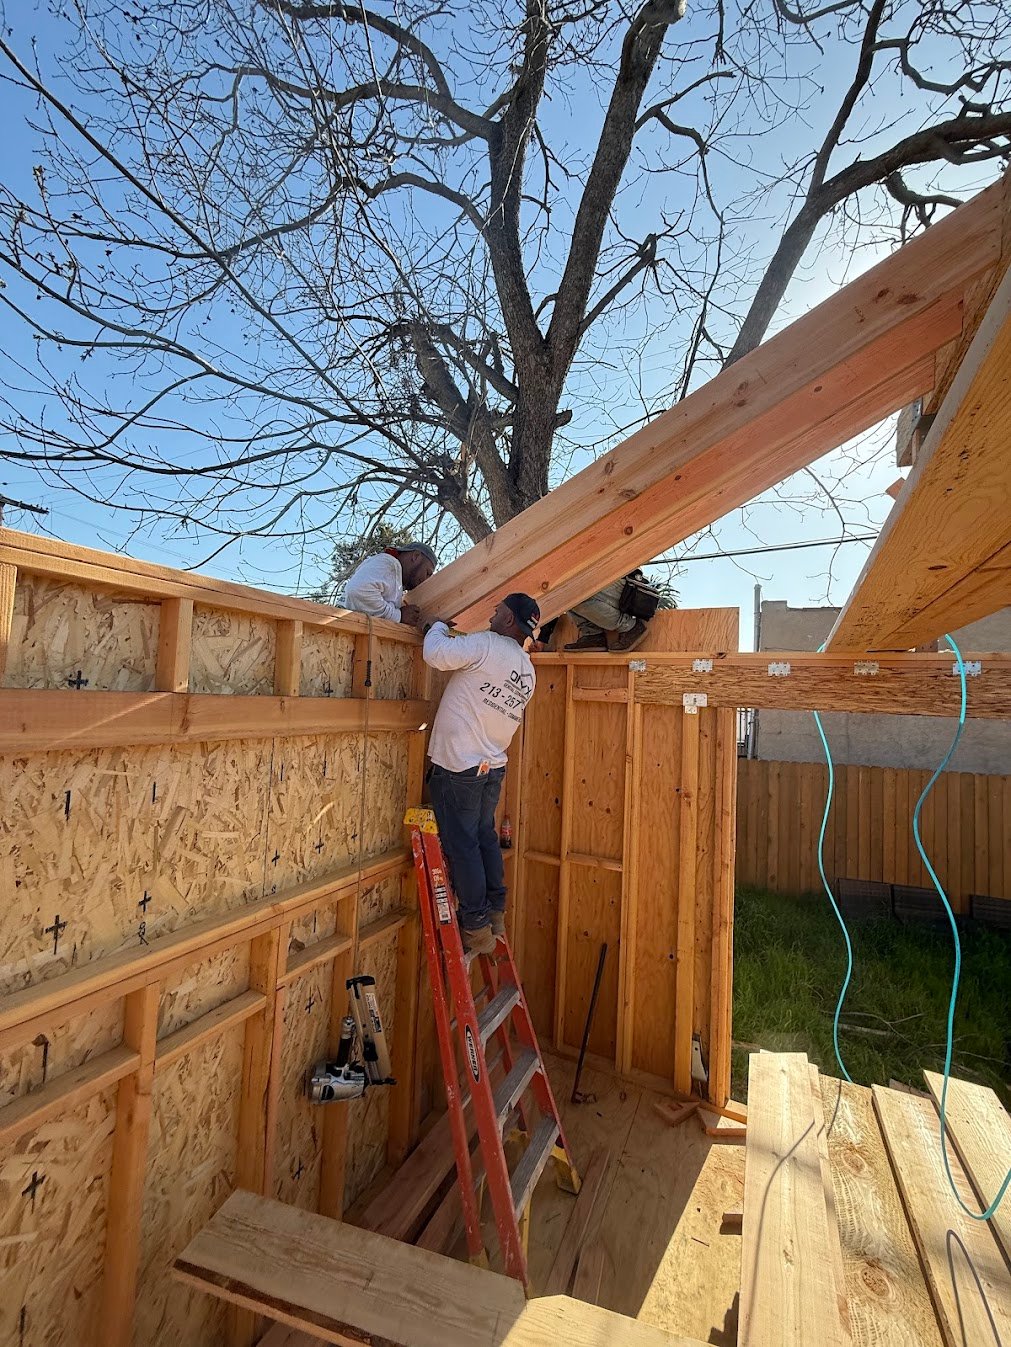
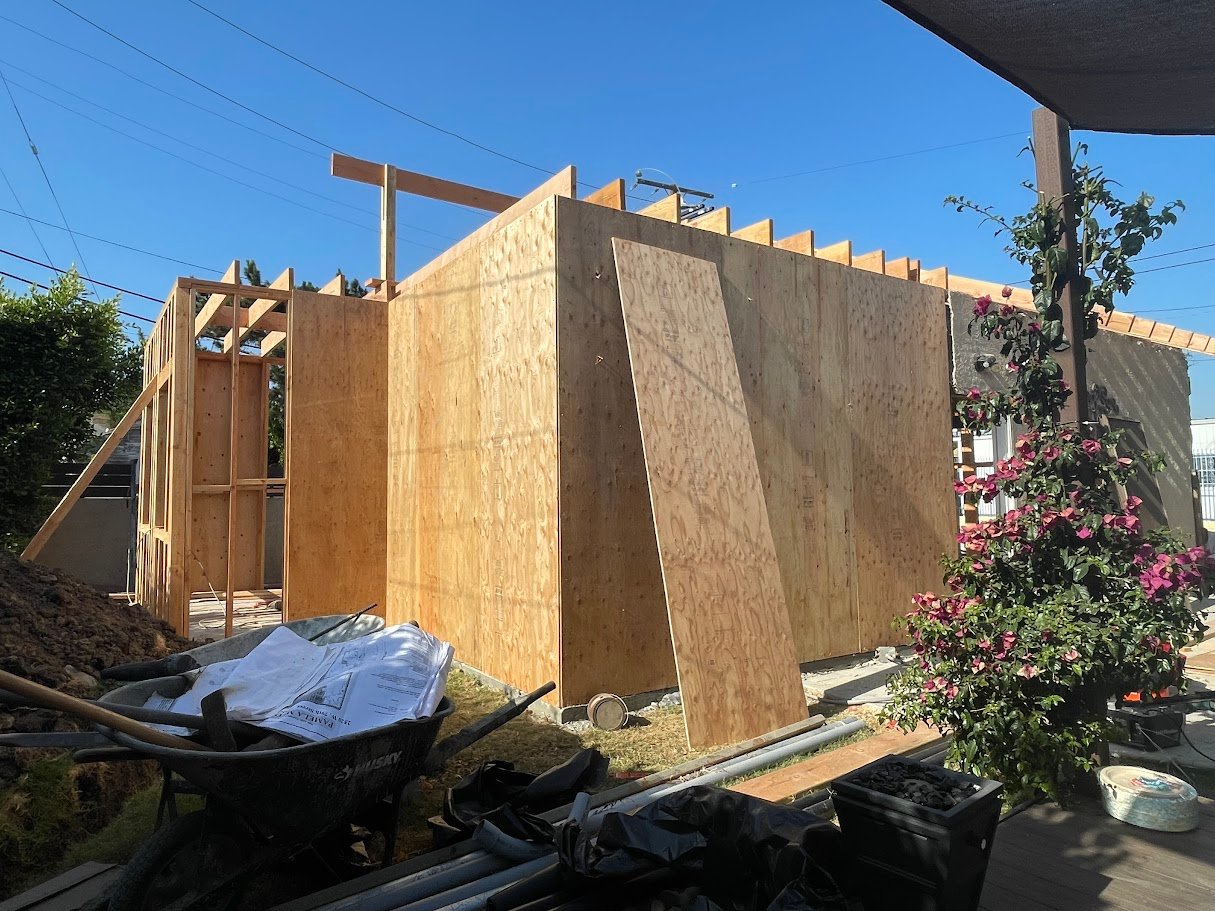
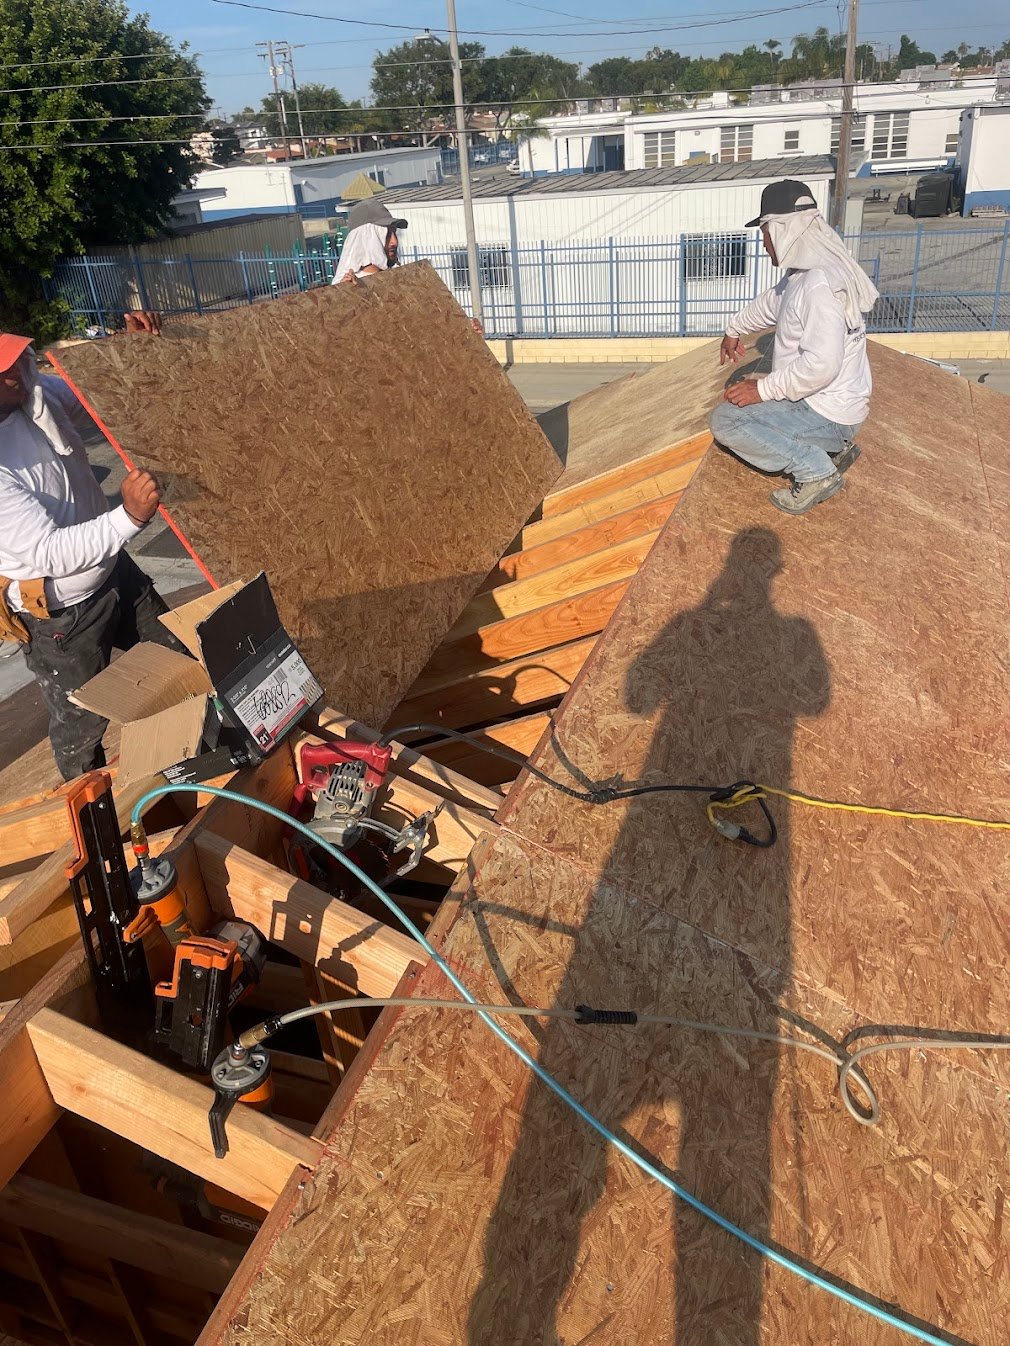
When the project becomes three-dimensional
Framing is the first moment most owners actually feel the plan.
Stud walls, beams, joists, rafters, trusses, and sheathing set the proportions of the home. Ceiling heights, openings, circulation, and room relationships all become real in this phase, which is why clean line work matters so much. Straight framing reads before any finish ever does.
This is also where structural connectors, blocking, shear walls, and tie-ins have to stay coordinated with the mechanical, plumbing, and window strategy that follows. On larger Los Angeles remodels and second-story work, that coordination often determines whether the rest of the schedule stays clean.
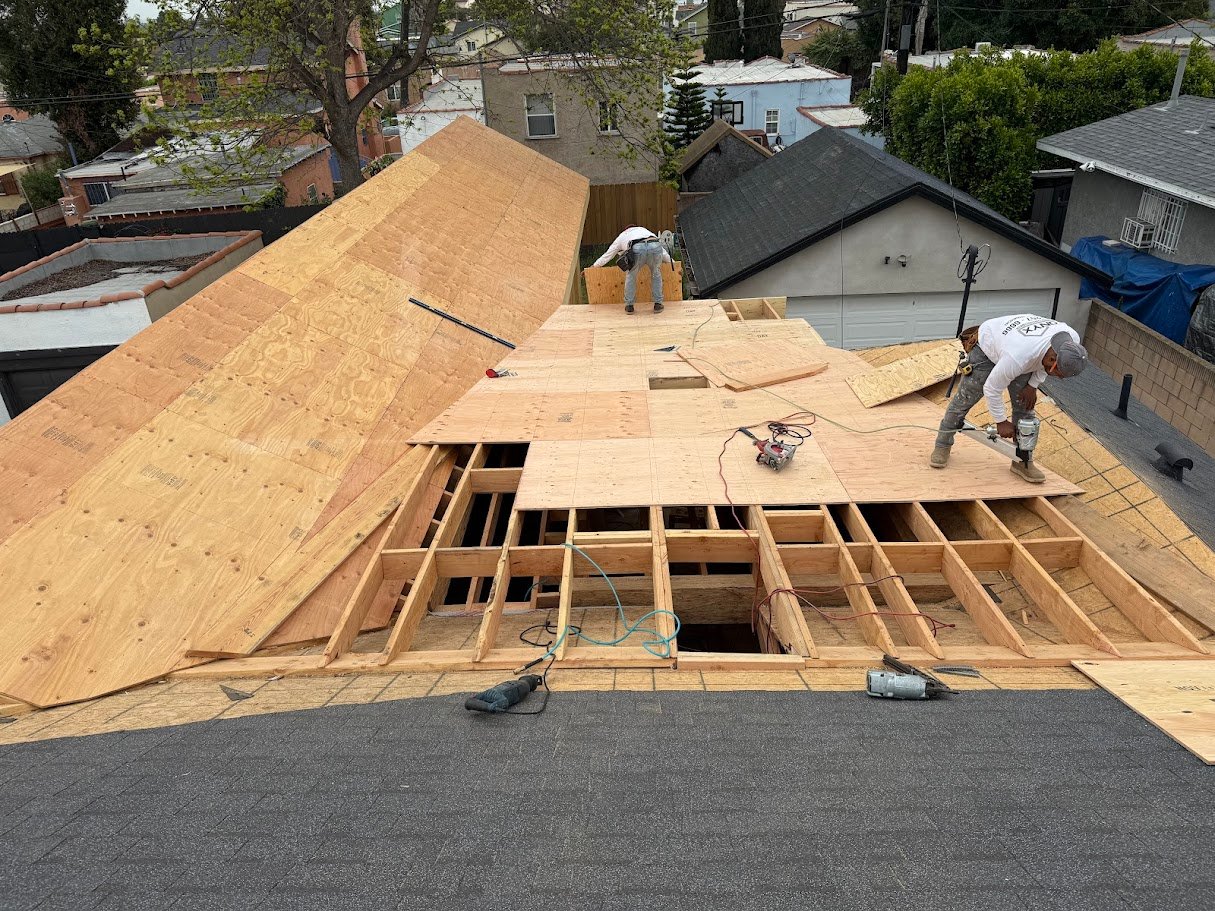
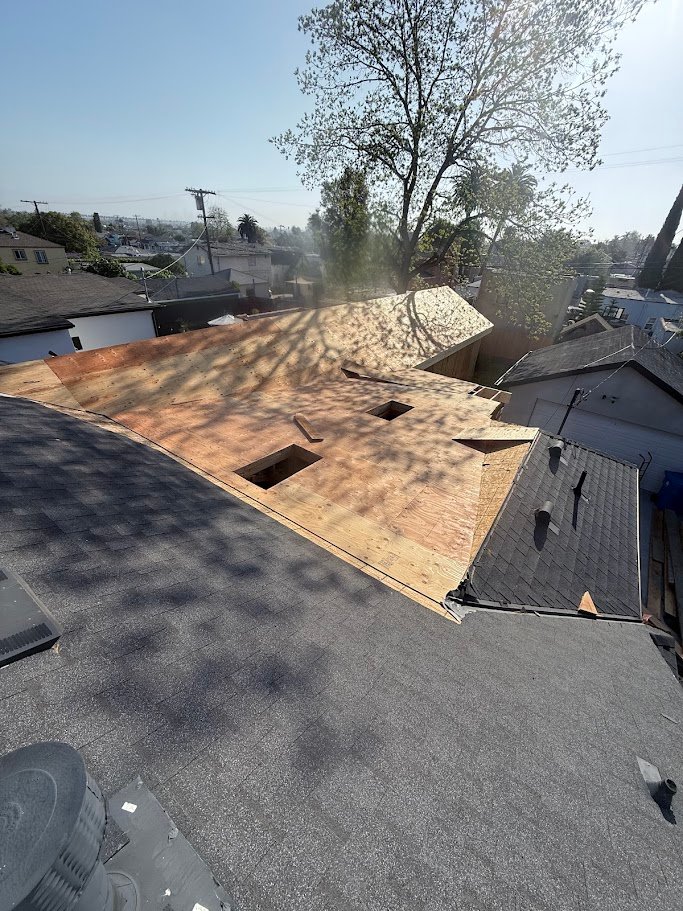
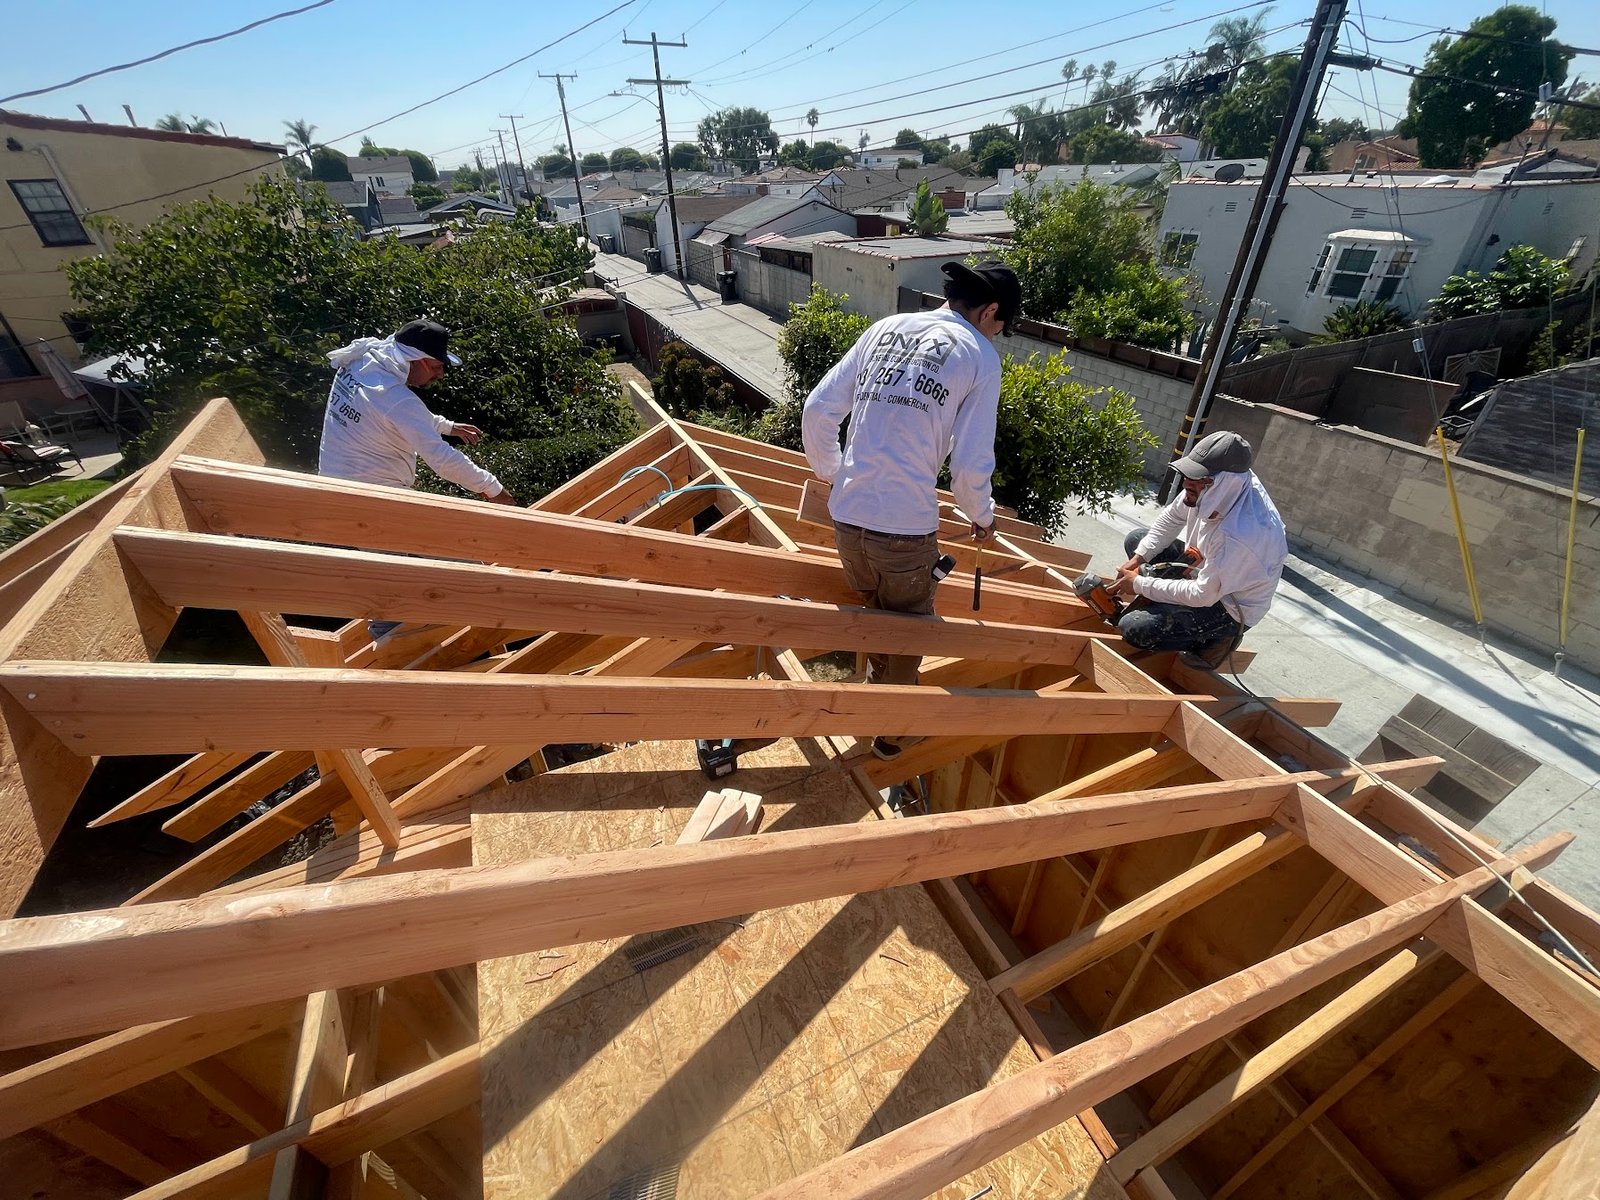
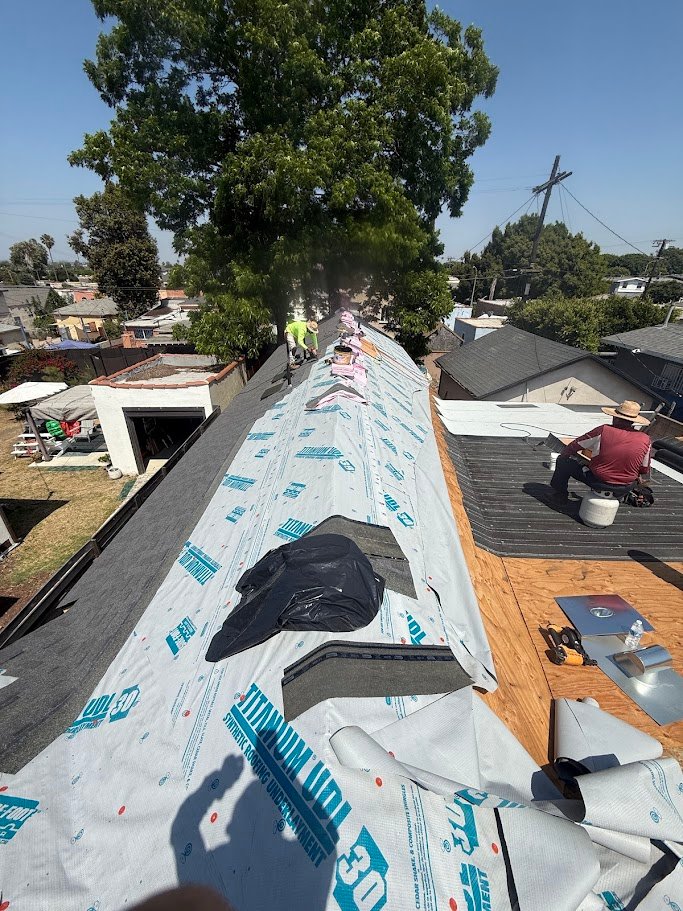
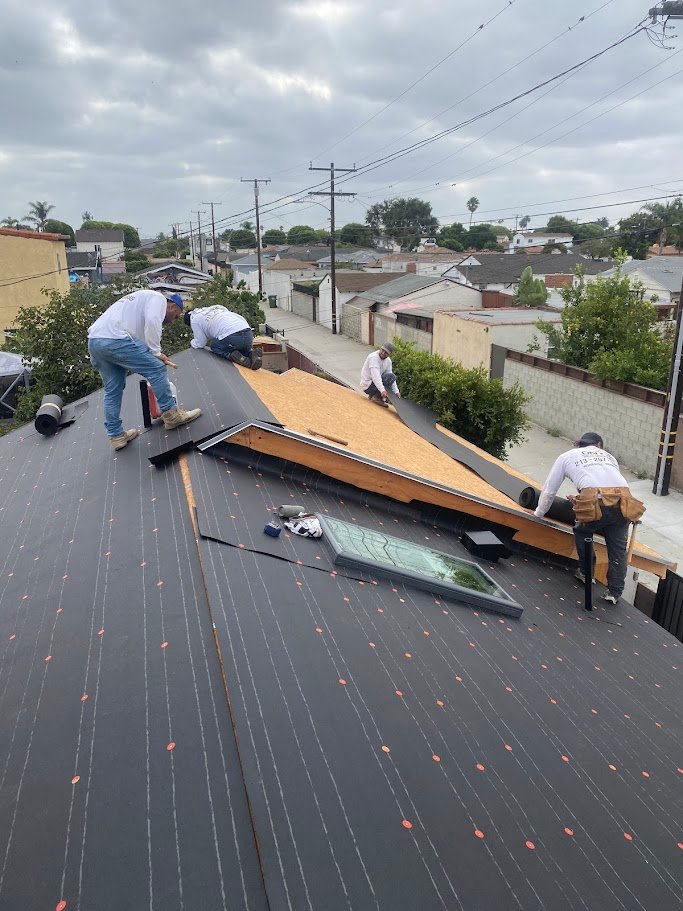
Weather protection before the inside can settle in
This is the moment the building starts to hold itself against the elements.
Roofing, underlayment, hot-mopped areas, flashings, and penetration detailing protect the structure from water intrusion and allow interior progress to move with more confidence. Once the roof is dry, the site feels fundamentally different.
Details matter here. Drains, parapets, skylight curbs, vent penetrations, and transitions are where long-term failures usually begin when this phase is rushed. On a well-run project, those are the very areas that receive the most attention.
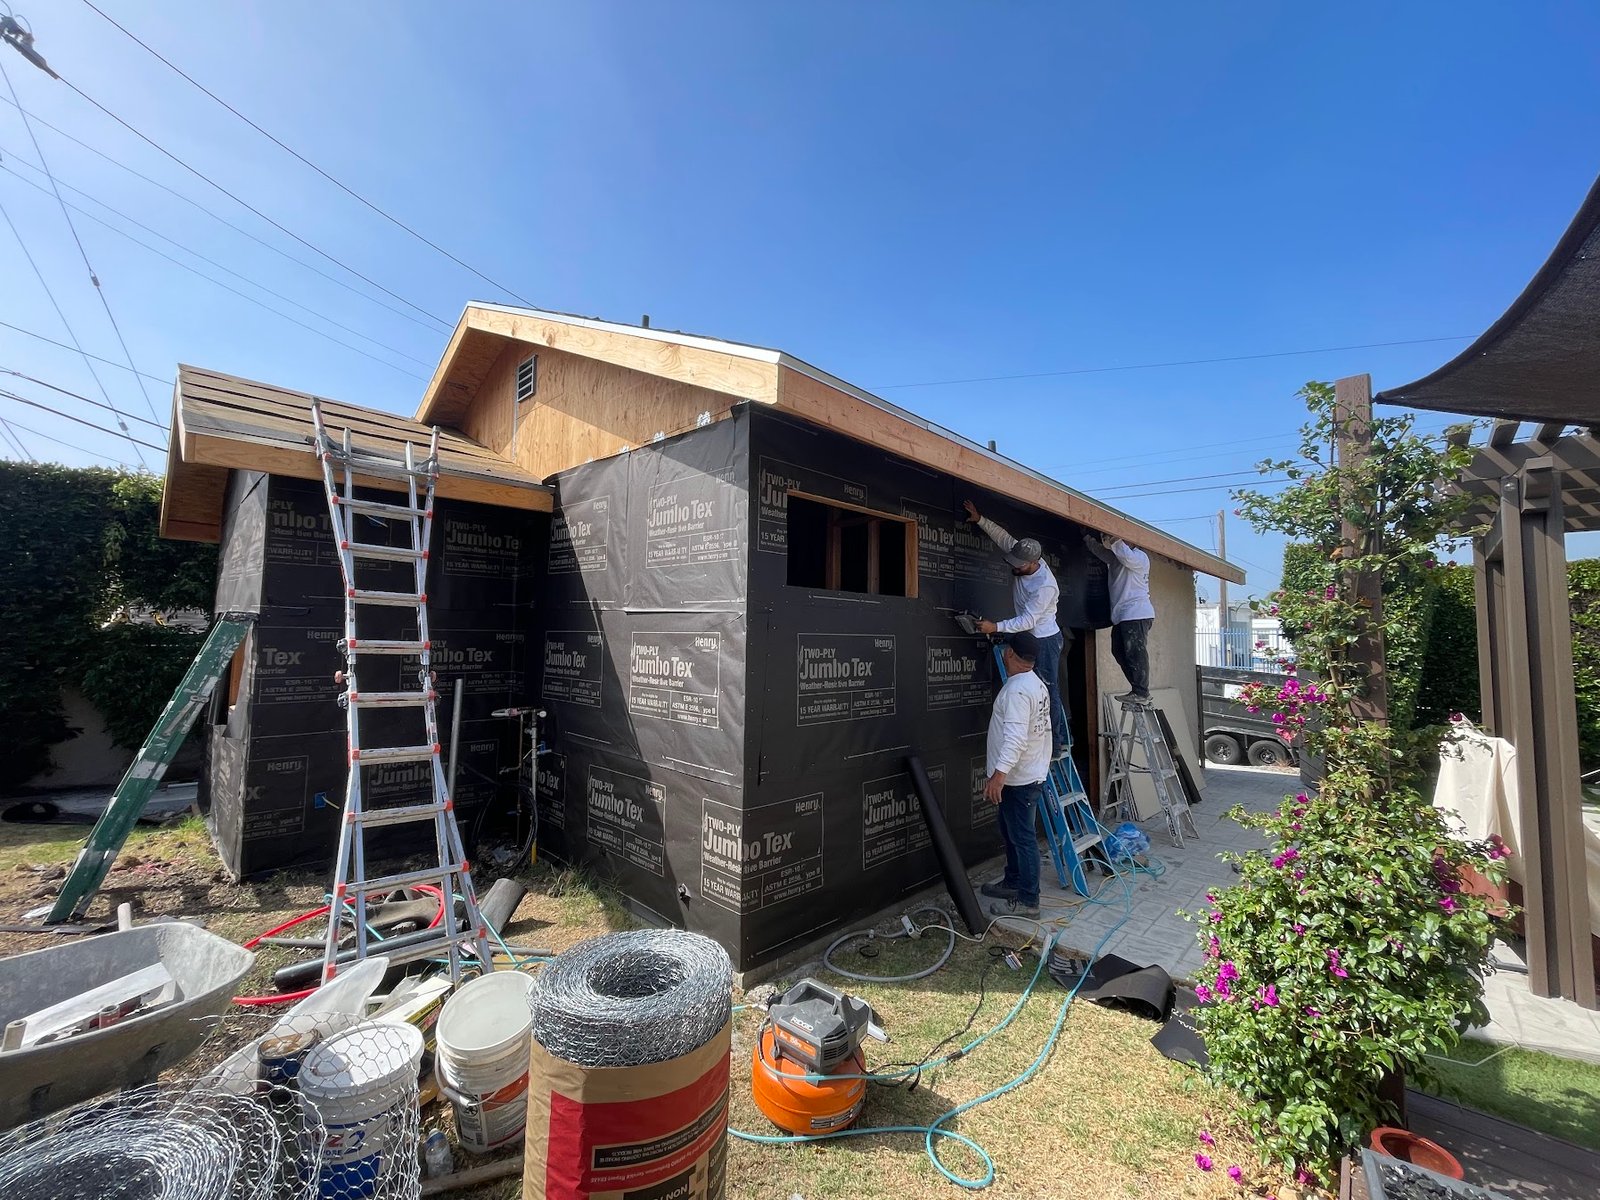
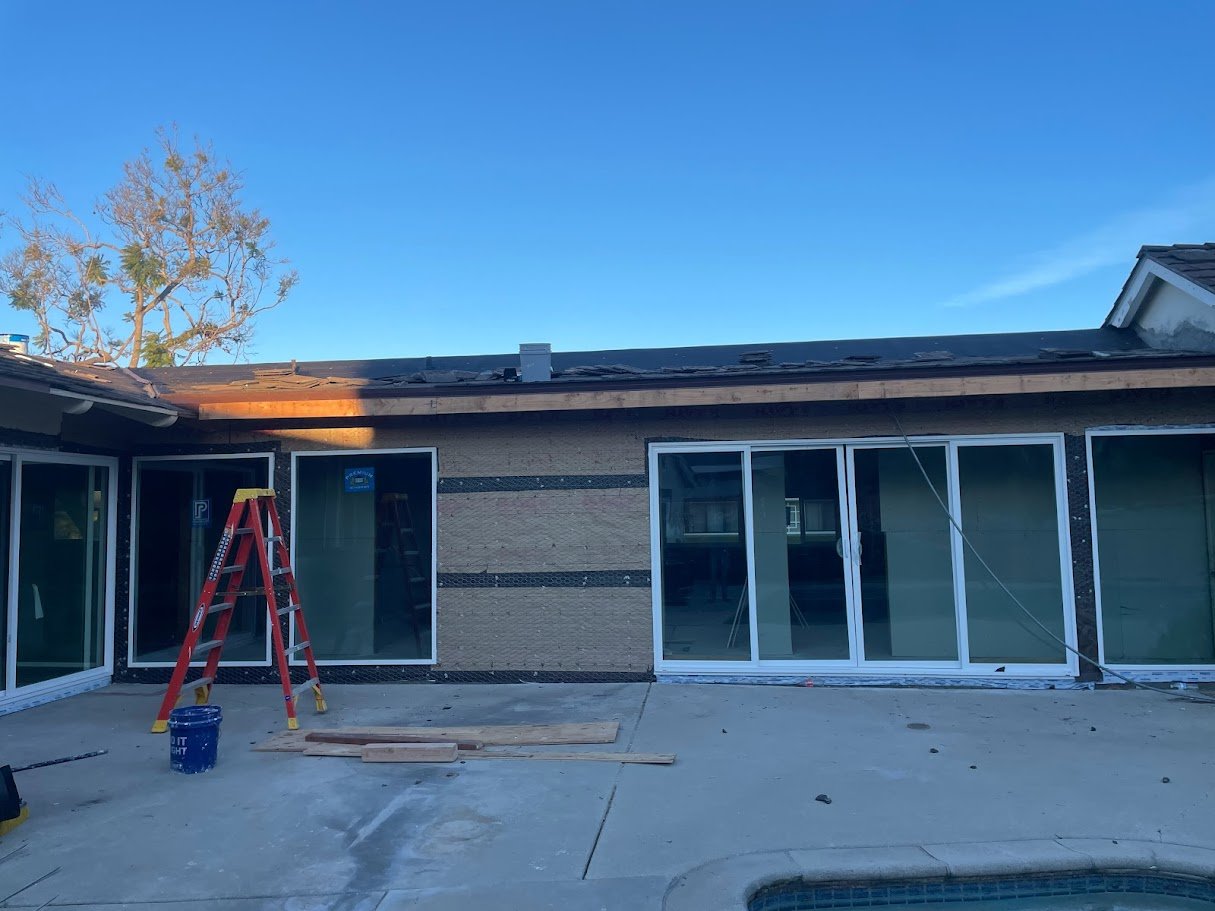
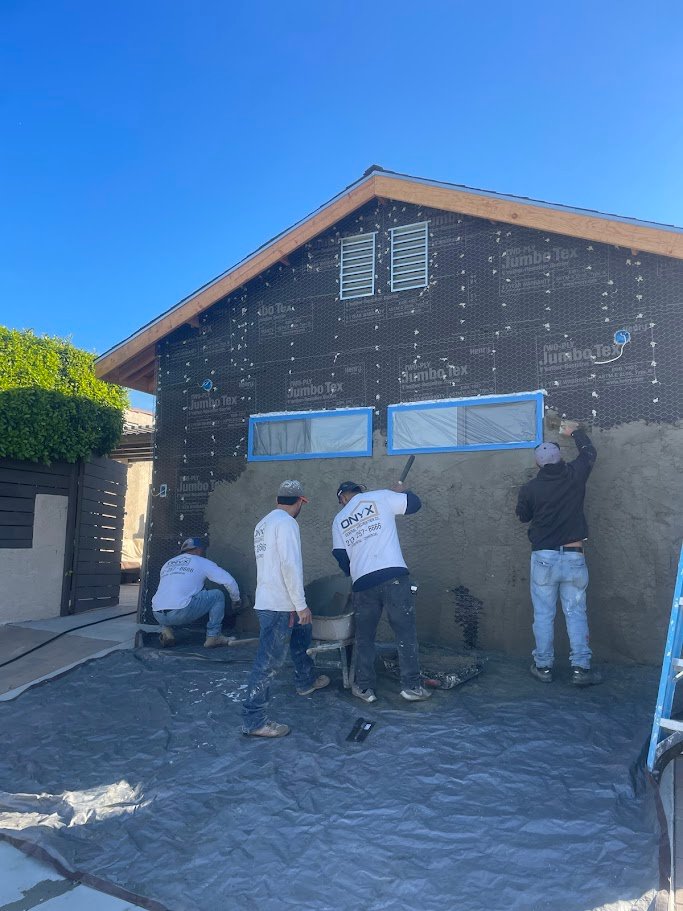
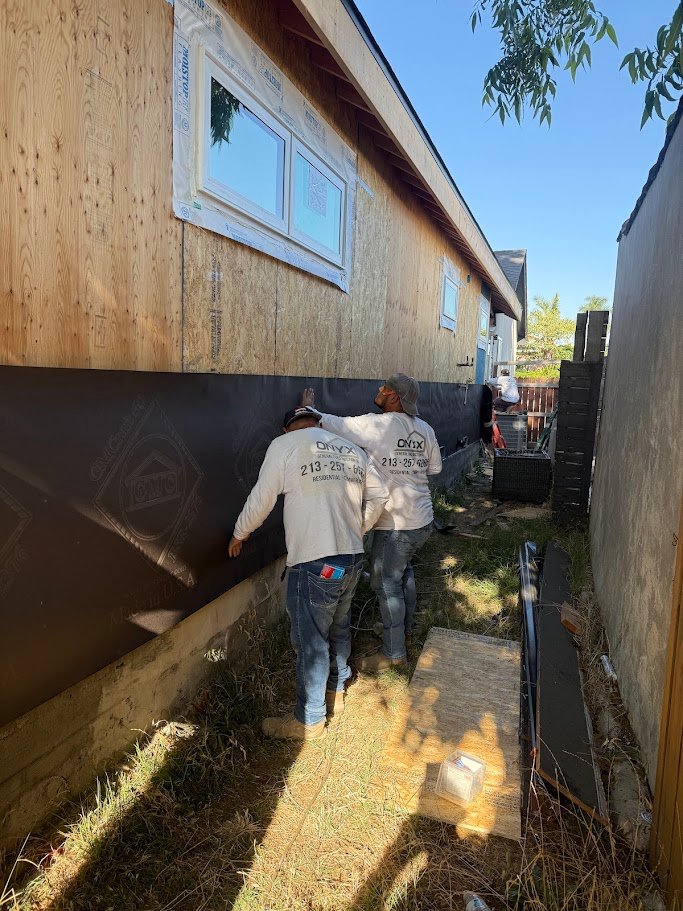
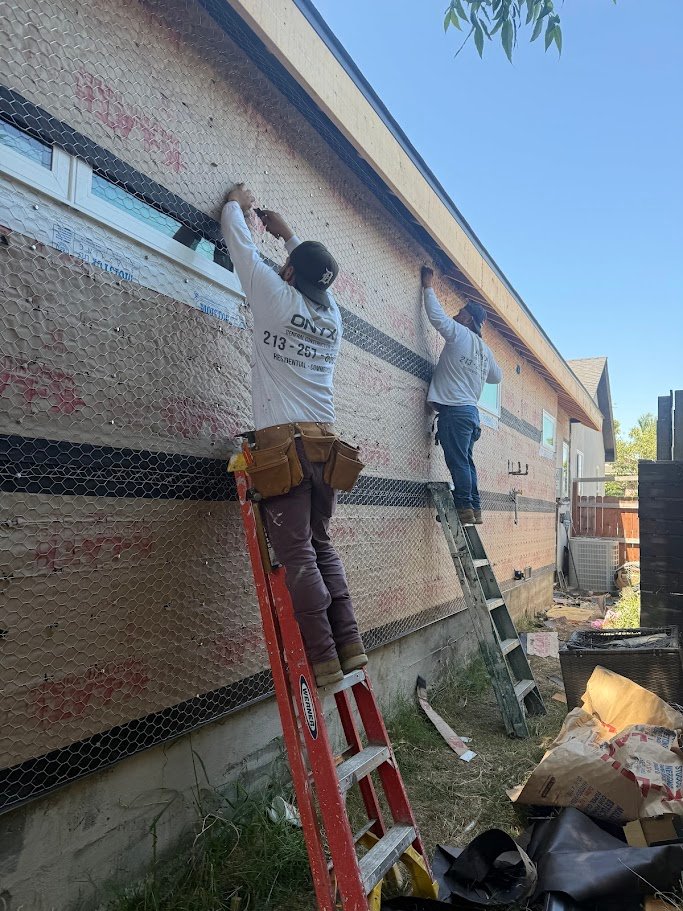
Sealing the envelope before the finish coats arrive
Straight openings and continuous waterproofing change the quality of the whole build.
Windows, exterior doors, weather-resistive barriers, flashing logic, trims, screeds, and lath assemblies all come together in this phase. It is one of the clearest indicators of whether a project is being built for durability or merely appearance.
In coastal and westside neighborhoods such as Pacific Palisades, Santa Monica, and Venice, envelope performance is not something owners should treat casually. Straight alignments, tight flashing, and clean WRB continuity are what allow the exterior finish to age well instead of becoming a recurring maintenance story.
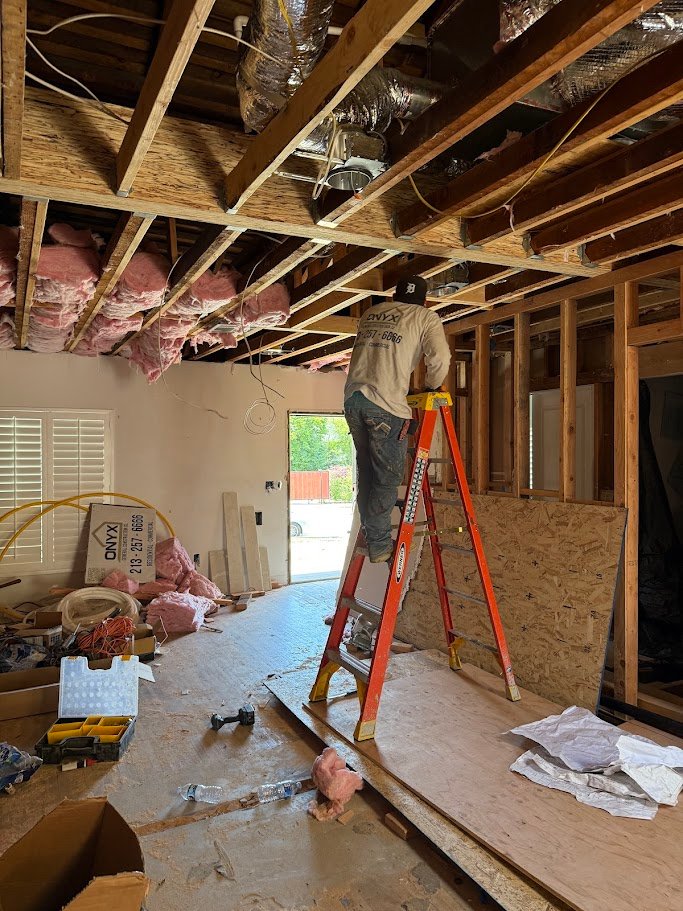
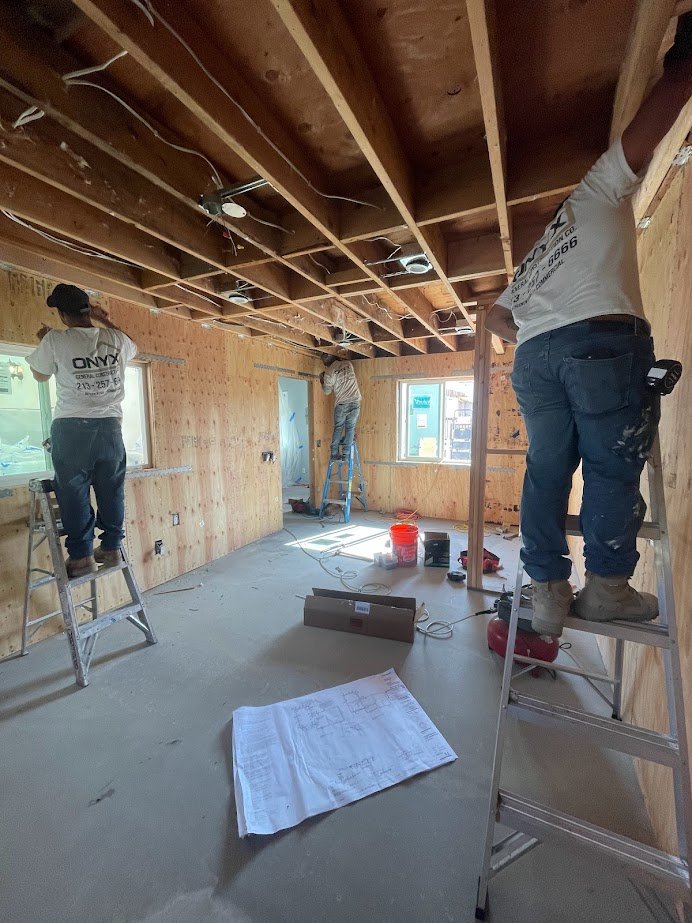
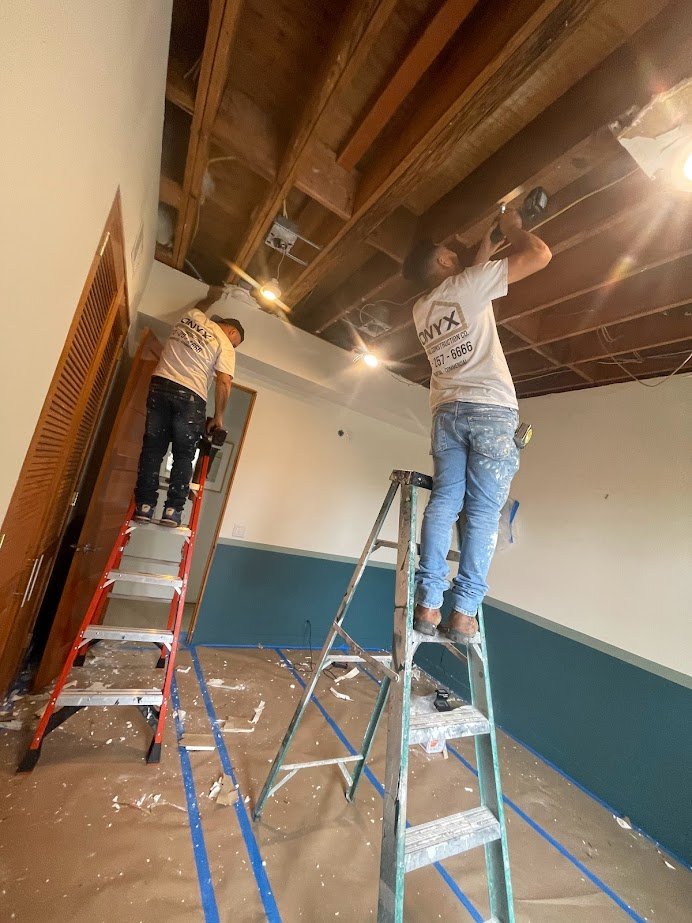
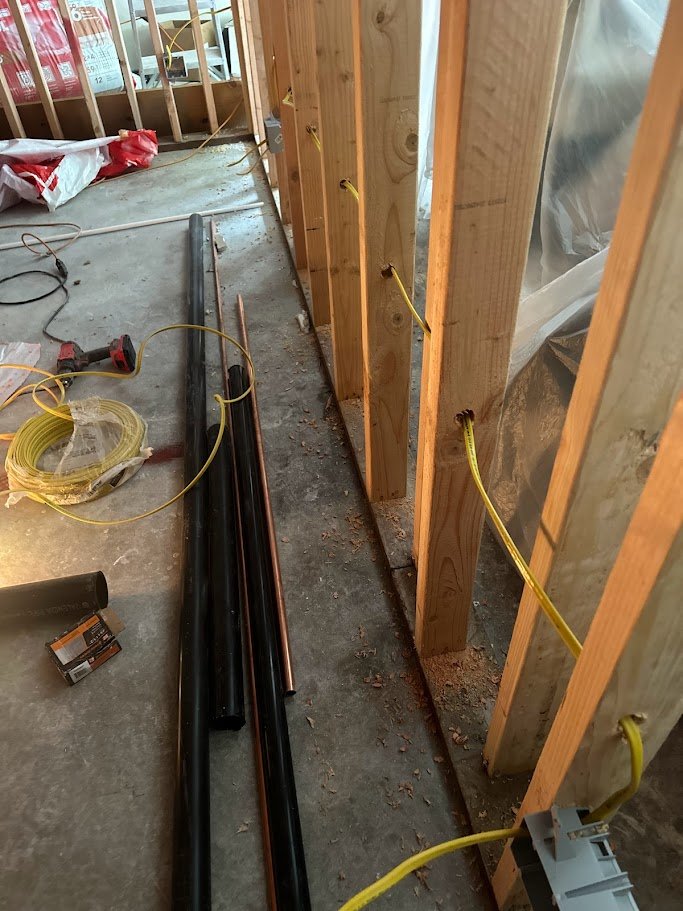
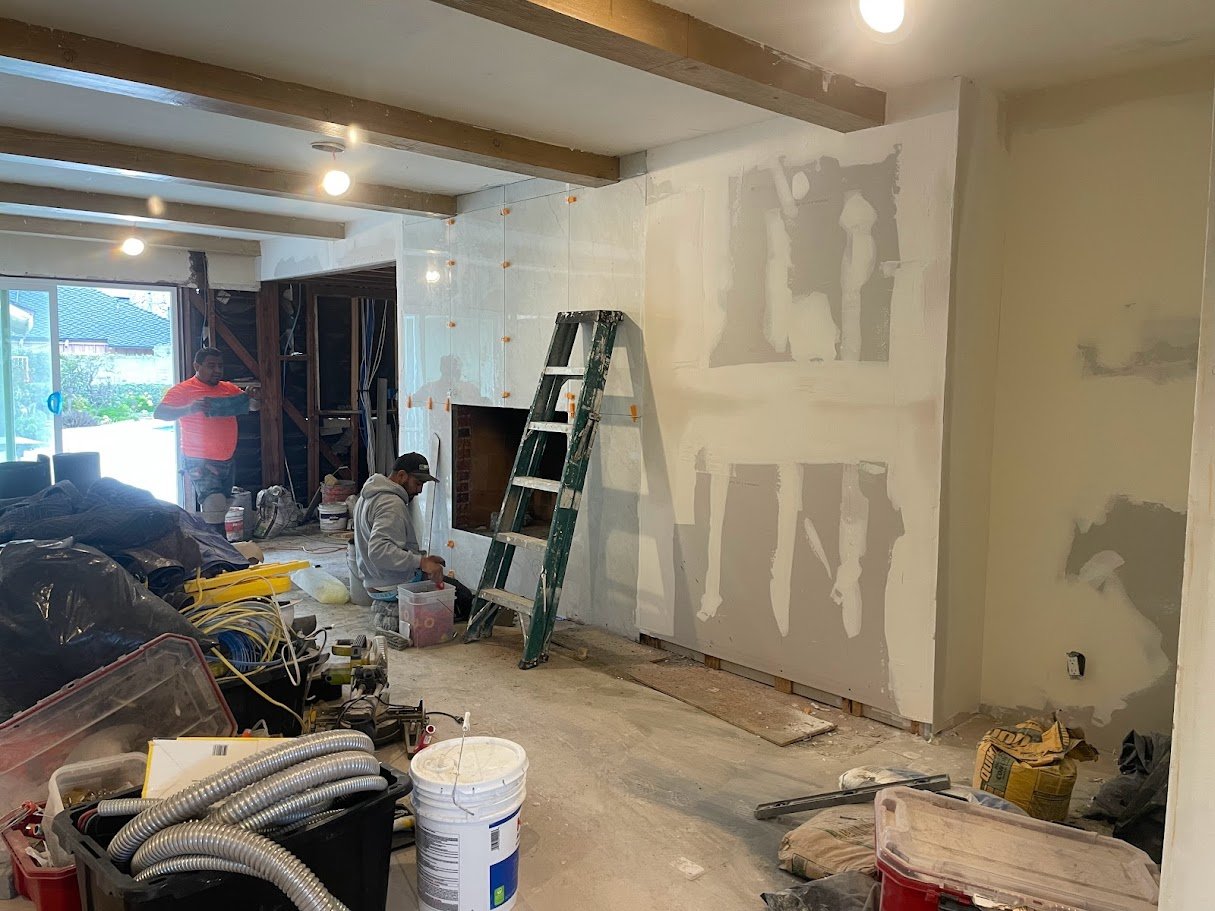
The hidden systems that make the building livable
A great finish package cannot rescue a messy rough-in.
Plumbing supply and waste, electrical runs and panels, low-voltage wiring, HVAC ducting, venting, exhaust systems, and equipment planning all live here. This phase often carries a major share of the budget because almost everything essential to comfort and code compliance is being set before the walls are closed.
On Los Angeles remodels, additions, and ADUs, rough coordination is where a lot of avoidable rework either gets prevented or invited. Clean routing, correct depths, organized penetrations, and alignment with cabinetry, lighting, and plumbing fixtures are what let the finish stages move without compromise.
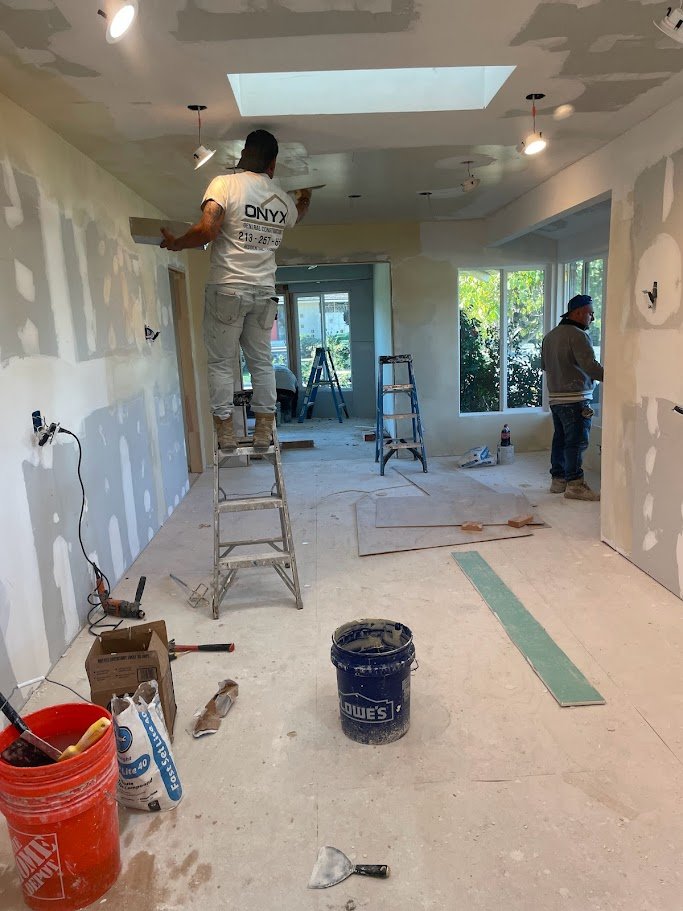
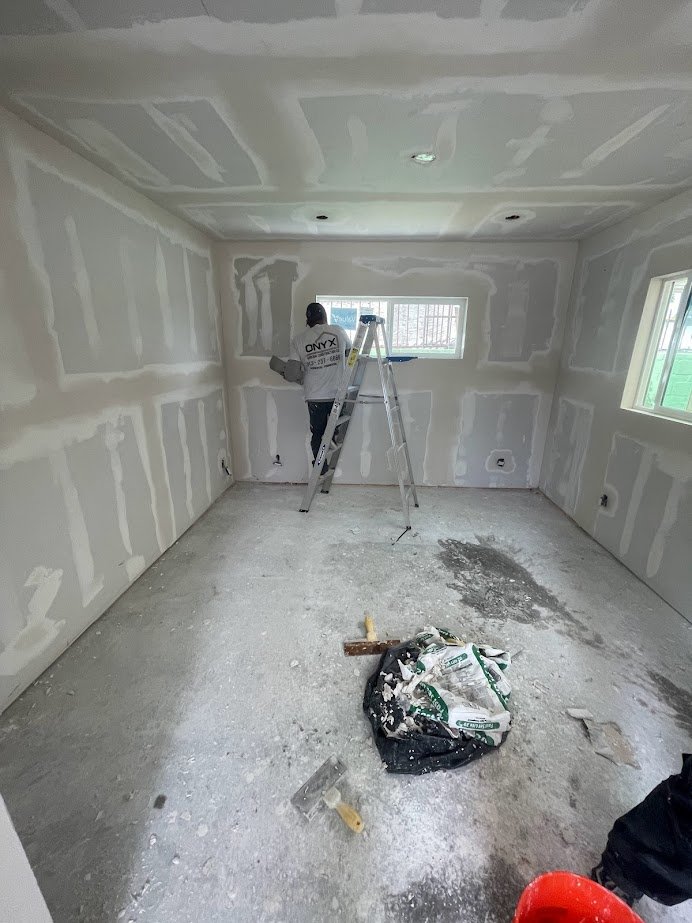
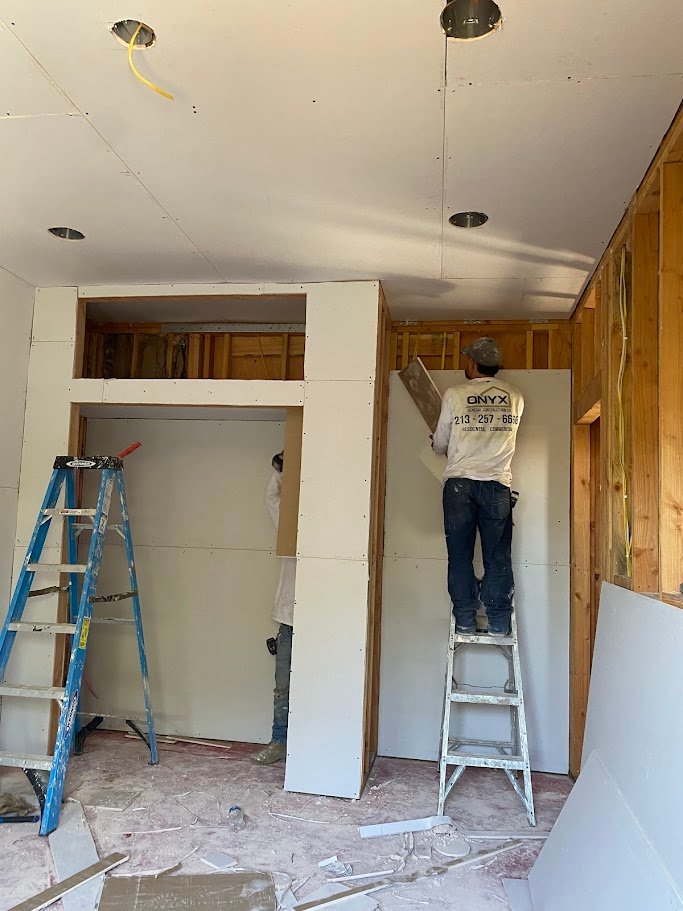
Where the structure starts feeling like rooms
This phase changes the emotional read of the project almost overnight.
Insulation shapes acoustic control, temperature performance, and energy behavior, while drywall creates the final planes that every finish will depend on. Straight corners, calm surfaces, consistent reveals, and careful transitions are not cosmetic details. They are the groundwork for how refined the completed home will feel.
Homeowners usually experience this as one of the biggest psychological shifts in the entire sequence. Once framing disappears and room boundaries become smooth, the jobsite finally starts to resemble the home they pictured at the beginning.

Character begins to show up underfoot and at every opening
The house starts reading less like a build and more like a residence.
Once the shell is straight and the walls are finished, flooring, interior doors, casings, baseboards, and trim details bring precision into everyday sightlines. Thresholds, door swings, hardware clearances, and molding reveals all need to feel quiet and resolved.
This phase also calls for protection discipline. Fresh floors and trim should never feel exposed to careless downstream traffic. The craftsmanship matters, but so does the way the site treats finished work once it is installed.
Performance first, precision immediately after
Bathrooms only feel luxurious when the technical work is already correct.
Cement float, waterproofing preparation, slope to drain, niche detailing, edge conditions, grout alignment, and layout control all come together in this phase. Great tile work is not just about the surface. It is about the membrane logic and substrate discipline below it.
On higher-end homes in Brentwood, West Hollywood, Pacific Palisades, and Hancock Park, owners often judge finish quality in bathrooms first. That makes this one of the clearest places where technical competence and visual restraint need to meet.
Where the daily function of the home becomes visible
This is often the stage homeowners remember most clearly.
Cabinet installation, countertop templating and setting, plumbing trims, appliances, mirrors, lighting, and bath fixtures all define how the home will actually be used. Alignment, reveal control, appliance integration, and damage prevention matter as much as the materials themselves.
The visual payoff is obvious, but the schedule pressure is real. Long-lead millwork, countertop fabrication timing, and finish fixture coordination can all disrupt the closeout sequence if they are not planned early enough.
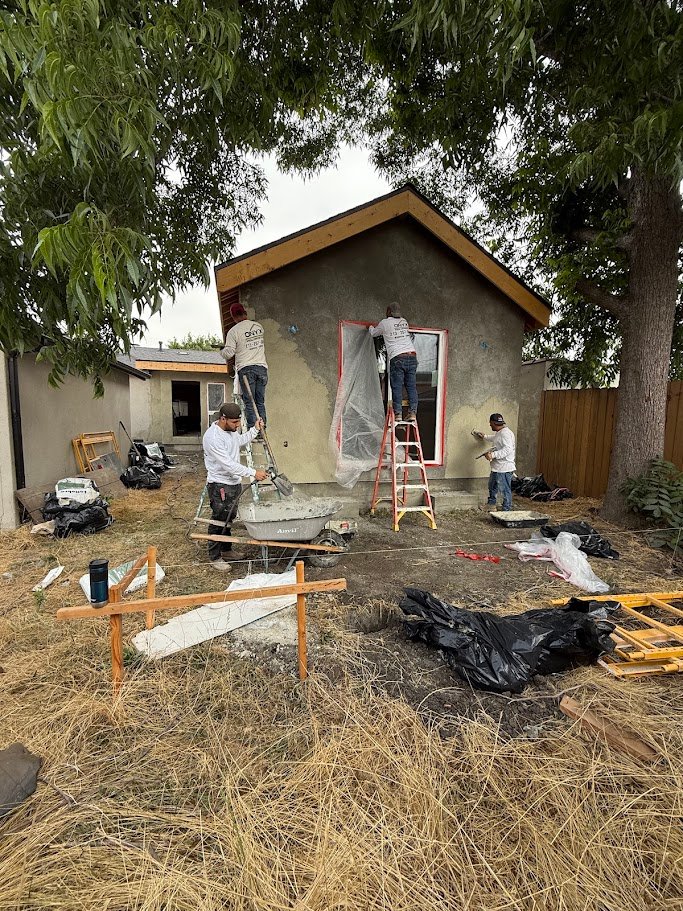
The final surface tells the truth about everything before it
Paint does not hide weak work. It exposes it.
Caulking, patching, sanding, priming, masking, cut lines, and final sheen all come together in the last visible layer of the build. Crisp paint only happens when the framing, rough-ins, substrate prep, and drywall work underneath it were done with care.
This is the phase where a home in Santa Monica, Los Feliz, Brentwood, or Encino begins to feel truly calm and finished. It is also the stage that most clearly separates rushed closeouts from projects that were carried through with consistency all the way to the end.
Questions homeowners usually ask once they see the sequence clearly
The same themes come up on projects throughout Los Angeles: where schedule risk lives, which inspections matter most, and why early-phase discipline has so much influence on the finished rooms.
Schedule movement usually shows up earliest, during demolition, foundation work, and rough-trade coordination. Hidden conditions, utility conflicts, structural revisions, and inspection timing tend to affect the calendar more than the finish phases.
Most owners feel that change in two waves. Framing makes the space understandable for the first time, then insulation and drywall make it feel architectural instead of skeletal.
Because those systems are what make the building livable and code-compliant. In additions, ADUs, and full remodels, the rough phase often carries substantial labor, material, inspection, and coordination costs before any visible finishes go in.
Foundation approvals, framing sign-offs, and rough plumbing, electrical, and mechanical inspections are the key checkpoints before insulation and drywall. They confirm that structural and system work is approved before it becomes concealed.
Paint, tile, trim, doors, and cabinetry reveal the accuracy of everything below them. Straight framing, disciplined rough-ins, calm drywall surfaces, and correct substrate prep are what allow the finished home to feel refined.
The sequence is similar, but the emphasis shifts. ADUs often carry tight footprint coordination, additions require careful tie-ins to existing structure, and full remodels tend to expose the most hidden conditions during early demolition and rough-trade work.